| A model lying in a pile of pillows |
By the window II |
Jens Relative Drawing Ruler
 Of the portrait artists I have seen working it appears as if there are two main directions in how artists approach how to draw a portrait. One method is to do it by intuition. The other method, the traditional “old school” method is by some form of eye sight measuring method. I think that the intuition people are actually inspired by the old school artists doing it so well that it looks intuitive.
Either way, if I was an intuition person then I would know it by now. On the contrary, I still want to be able to draw portraits in such way that it looks similar to the model. As I understand it the old school method is based on relations of distances between certain landmarks in the motive being drawn. For example the height of the head can be one such landmark.
For example a typical recipe is that between the chin and the nose you have one third, between the nose and the eyebrows you have the next one third and between the eyebrows and the hairline you find the final one third. So by recognizing one thirds you are able to establish the relation between various parts of the face.
There are more classical relations like this. Some correspond to a specific face and some don’t but the core of this all is to establish the relative distance between two points. Some people are better at this than others. I am told that most people can learn this. As it appears to me some have a greater talent for this than others.
Musicians can have something called “absolute pitch”. It works so that a person with absolute pitch can recall a certain tone for the “inner ear”, just like most of us can recall how the color red looks like without seeing it in front of us. This ability is a fantastic tool for a musician. It might be so that the ability to accurately estimate relative distance is a type of ability that would be the portrait artist’s equivalence to the absolute pitch.
When an artist is capable of measuring accurately then it is possible to achieve likeliness... easier.
Challenge as it is, I would like to learn this! So why not create a little tool to help measuring. That is what Jens Relative Drawing Ruler is about. A nice thing with this is also that the tool itself is a visualization of the entire method of relative distance in drawing portraits.
So the idea is that the artist holds out a straight arm with the ruler in the hand viewing the model. Normally the head is the reference object for drawing portraits. It can also be so that the artist is using several references, especially for full model drawing. If you are sitting far away from the model or the model has a small head or you have long arms, it is all unique factors. In my case I found that the head of the model from chin to the top of the head was 4.5 cm (1.77 inch) on the ruler when I held out a straight arm with the ruler.
The painting can be really big or small so the size of the reference object on the painting can very a lot as well. On the composition I was working on the reference object became 12 cm high (4.72 inches).
With these two measurements it is possible to create a helping tool, Jens Relative Drawing Ruler! Here below is how I make the ruler. To create the ruler I need to have a printer and a computer and I used Microsoft Word 2010 but you can probably use many other editors to do the same. I also need a round wooden rod. I used a rod of 6 mm diameter.
1. Open Microsoft Word. Here in this example I am using Word 2010.
2. Create a table with eight rows and nine columns. In the insert ribbon you find the table menu. Press “Insert Table”. A window opens and in there you can specify the number of rows and columns. It looks like this: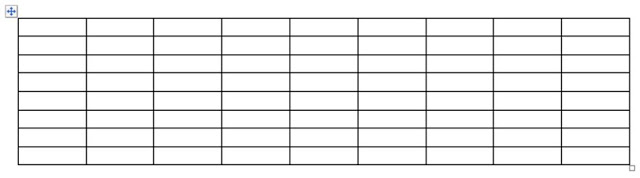
3. On the second row select two cells then it looks like this: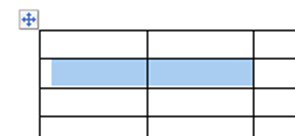
4. Activate the ribbon “Help for tables, Layout”. Now click on the merge cells button.
5. On the third row merge three cells.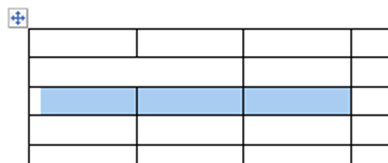
6. For each row you merge one more cell. Continue like this until you have done all rows of the table. Now the table looks like this: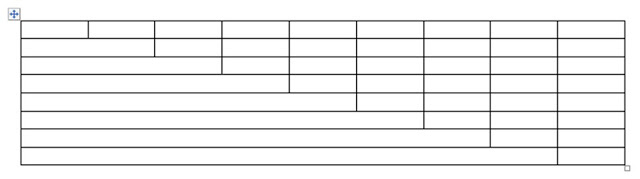
7. Now the rows should be made even. Select all cells of the second row. Activate the “Table Help, Design” ribbon. Press the distribute columns button. It looks like this:
8. When you applied distribute cells on all rows the table looks like this: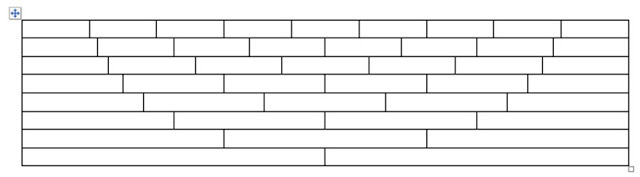
9. Now the cells should be given alternating colors. I like black and white because that is high contrast and that works nice for me. By holding down the control key you can select all cells of one color. Then in the Table Help, Design ribbon select color in the shading drop down. When done with the colors the table looks like this: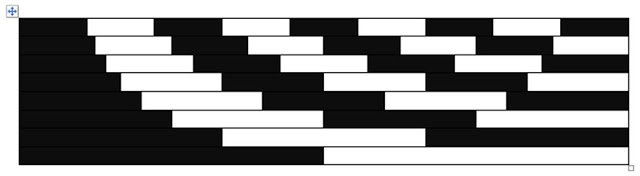
10. Now I insert the relations in every cell. That way I don’t need to count them while working. Now the table looks like this: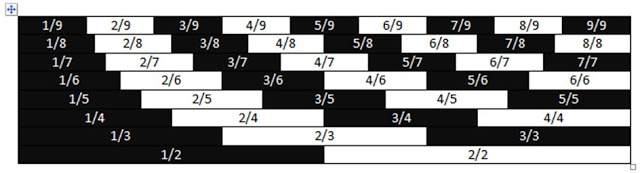
11. At this stage I remove the lines of the table by activating Help for tables, Design. In the lines pop up I select no lines.
12. The relative drawing scale is almost done. Now I need to get it on to a round wood rod. You can buy those in DYI shops. The rod I have is 6 mm in diameter. The formula for the periphery is diameter multiplied with pi. So the height of the scale for me should be 18.85 mm. I set this height in the table properties by specifying the height of each row. So each row should be 2.356 mm high. To set this on the table I right click the “plus” symbol at the top of the table and I select the table properties. When this was set I had to make the font smaller because otherwise the numbers would not be visible. Now the table looks like this:
13. In the studio when I hold out a pen with my stretched arm I noticed that for this model and this pose her head was equal to 4.5 cm on the rod. First I set the columns to fixed column width and then I make the width of the table 4.5 cm. The text might not fit anymore and in that case I make the cell margin 0 cm. Now the table looks like this: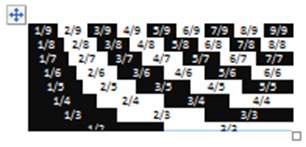
14. On my current painting the composition is such that the head of the model is 12 cm. This time it is much simpler because I just need to copy my original table and paste it next to the first and make the width 12 cm.
15. Then I print the tables.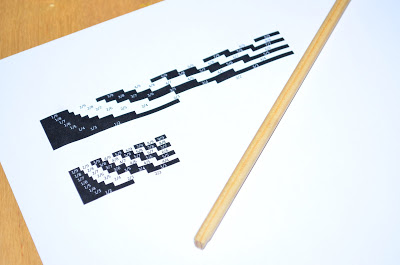
16. When cut I put tape on one side of the tables and putting the tables on the rod.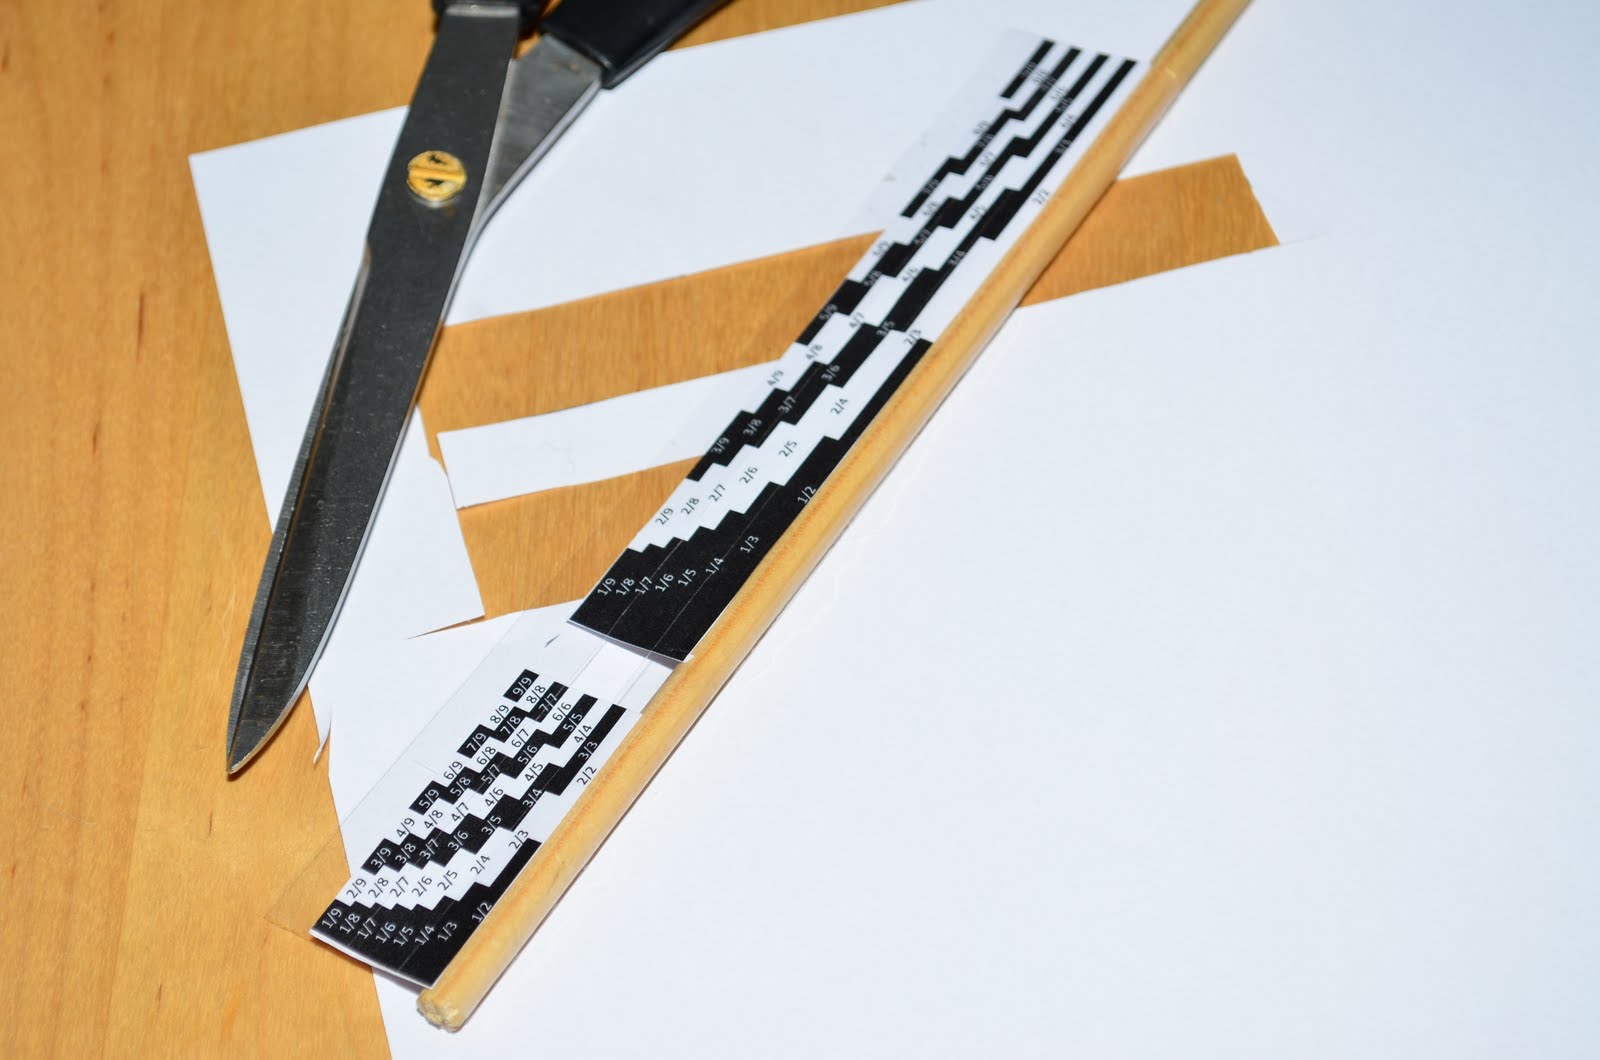
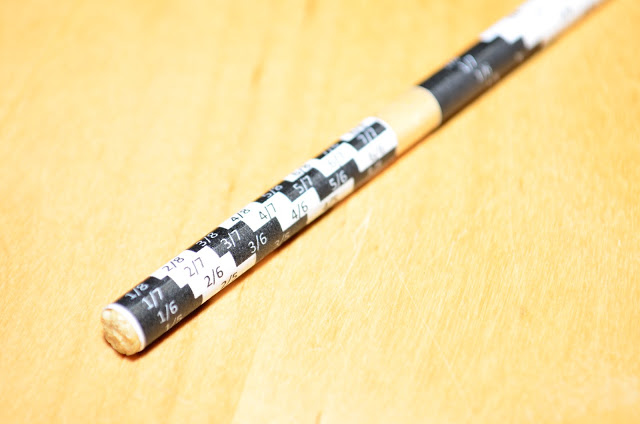
17. Now I place tape on the other side of the tables and roll the paper around the rod. Now it is finished!
The smaller table is to be used for picking out measurements on the live model. Hold out a straight arm and look on the ruler and the model at the same time. Roll the ruler if necessary. On the painting you reproduce the same relation but at a different size. Clever!


 Dusk You and I on 6 December 2018Josefin at the beginning of a new era of palette administrationThe environment is so boringPreparing hardwood plywood painting panelsHow much is a 'Jens Wet Panels Box'?This painting of Emily is imperfectly niceWill a painting of a canal a misty morning say “POF” and self-destruct?Aquarellish oil painting - SandrinaJens Proportional DividerJens Wet Panels BoxThe proportional divider!
 I moved from Sweden to The Netherlands in 1995.
Here on this site, you find my creations because that is what I do. I create.