| Preparations for a raku kiln |
Rainy morning, bisque burn has to wait |
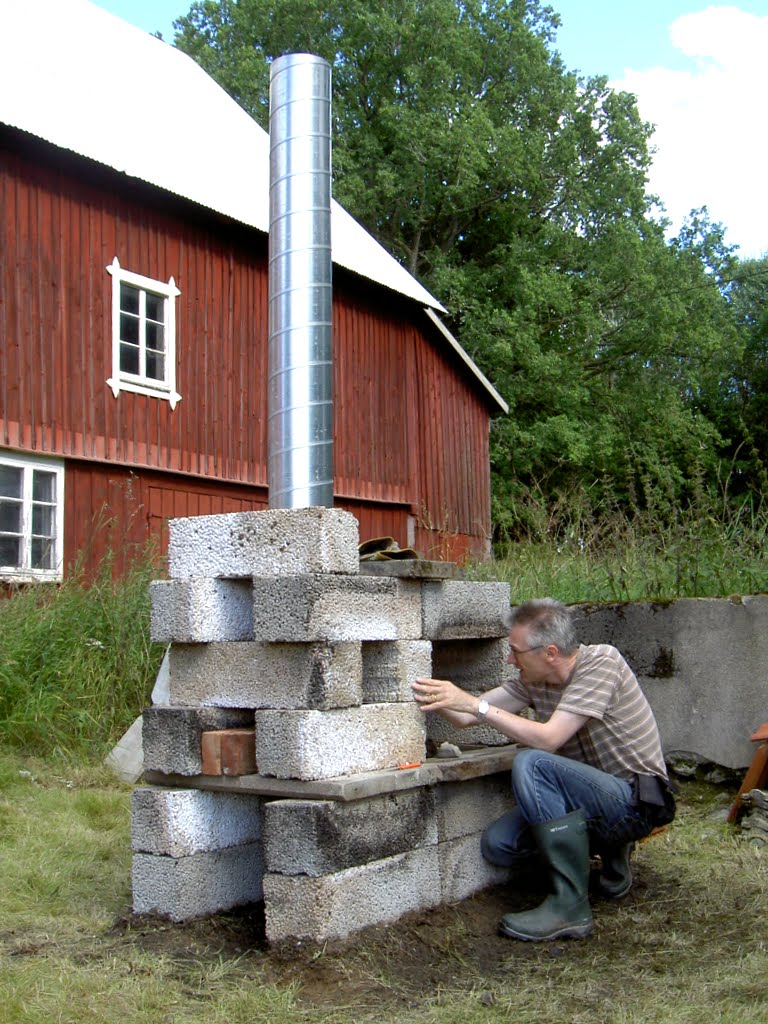
Building a wood burned raku kiln
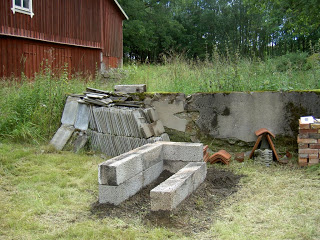
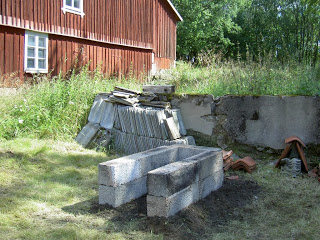
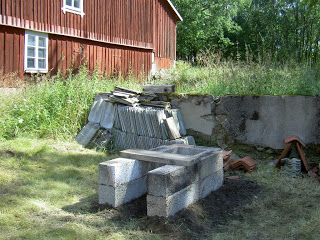
Today I built a raku kiln. I made it out of lecablocks and a couple of other items:
26 lecablocks of size 18.5cm x 18.5cm x 58.5cm;
7 concrete blocks of size 25cm x 4.5cm x 75cm;
2 scrap pieces of concrete blocks in total 25cm x 40cm x 4.5cm;
1 galvanized tube 20cm in diameter and 2 meters long;
1 ceramic oven plate 45cm x 40cm x 1.5cm;
1 iron sheet;
ceramic clay;
6 roof tiles;
3 nok tiles;
7 bricks;
4 handles;
wire for the handles.
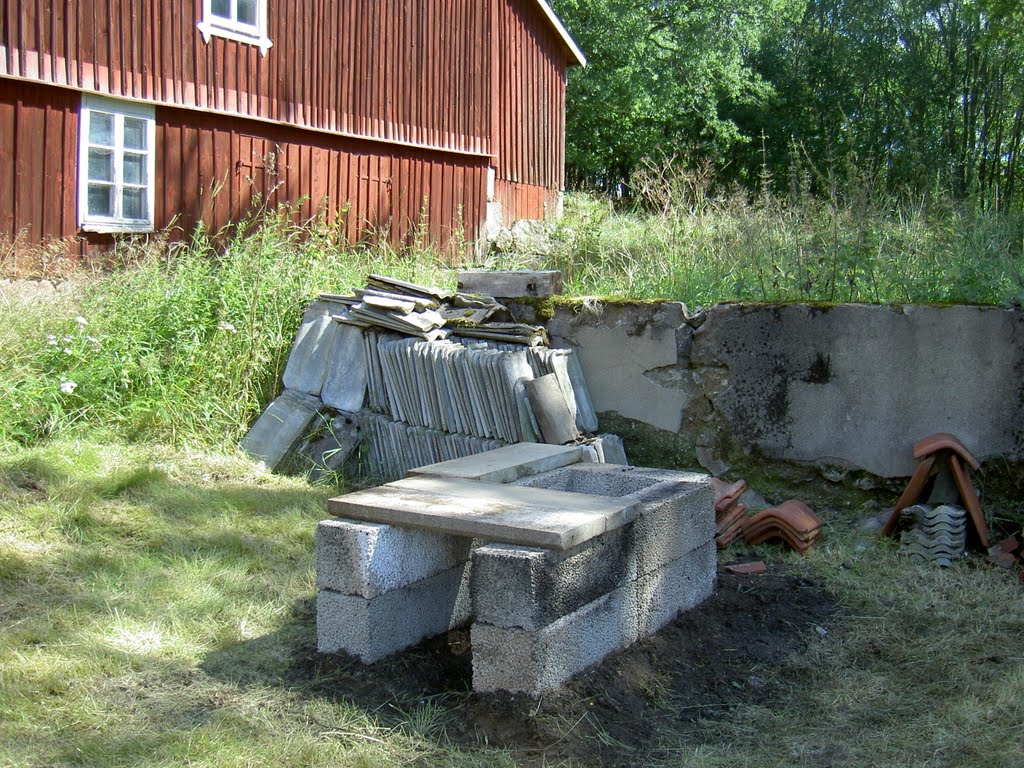
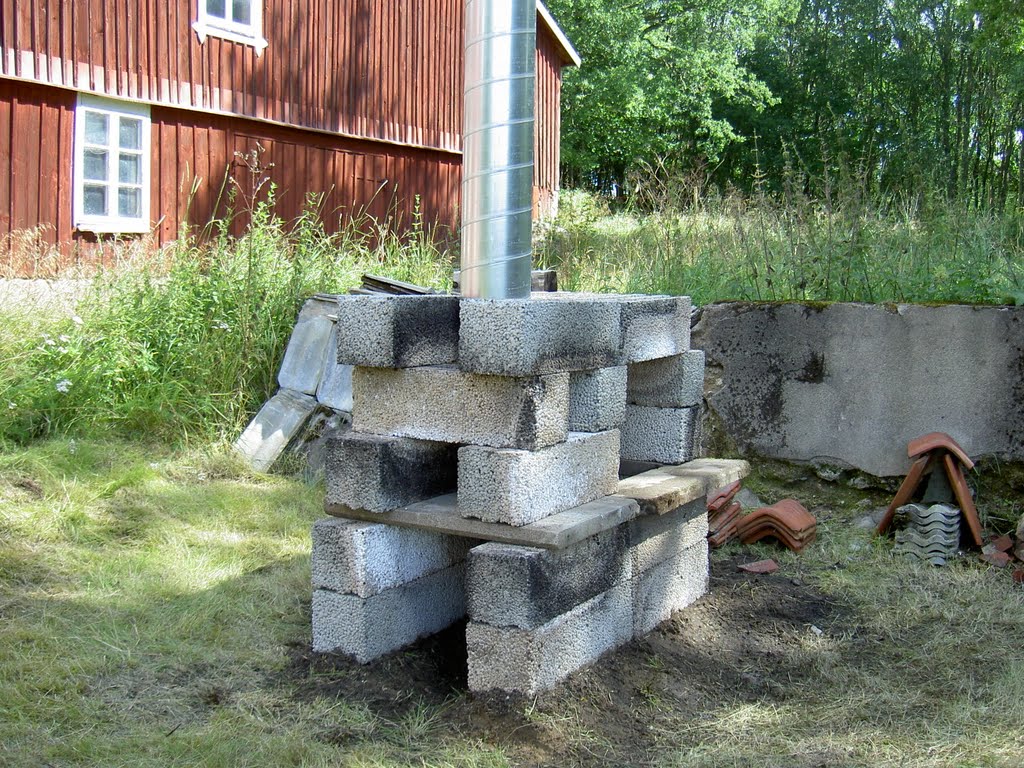
The main idea with this kiln is that the heat from the fire should be passing under the ceramic oven plate and continues back over the goods standing on the plate and continue upwards through the chimney tube.
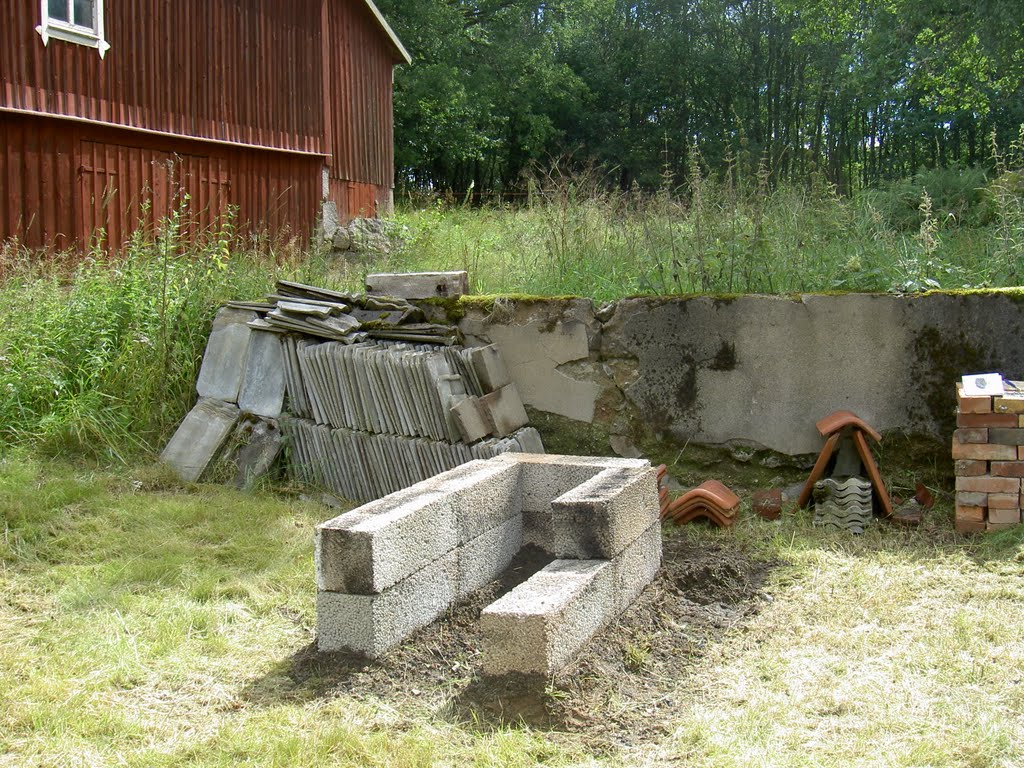
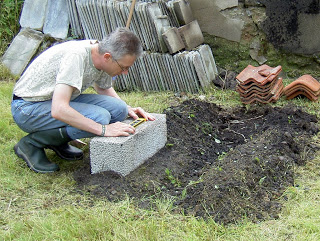
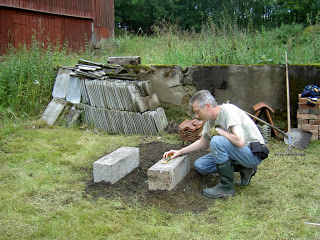
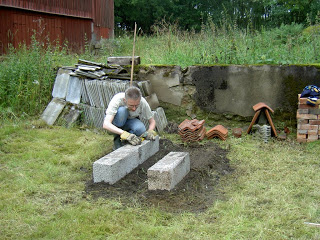
I started building the kiln by making a U shaped ridge as foundation for the lecablocks. Then I started to place the lecablocks on the ridge.

The distance between the legs of kiln should be narrow enough so that the ceramic oven plate could rest on top of the legs of the oven.

The stones lying on the ridge of sand and gravel need to be in level because that makes the rest of the building much easier.

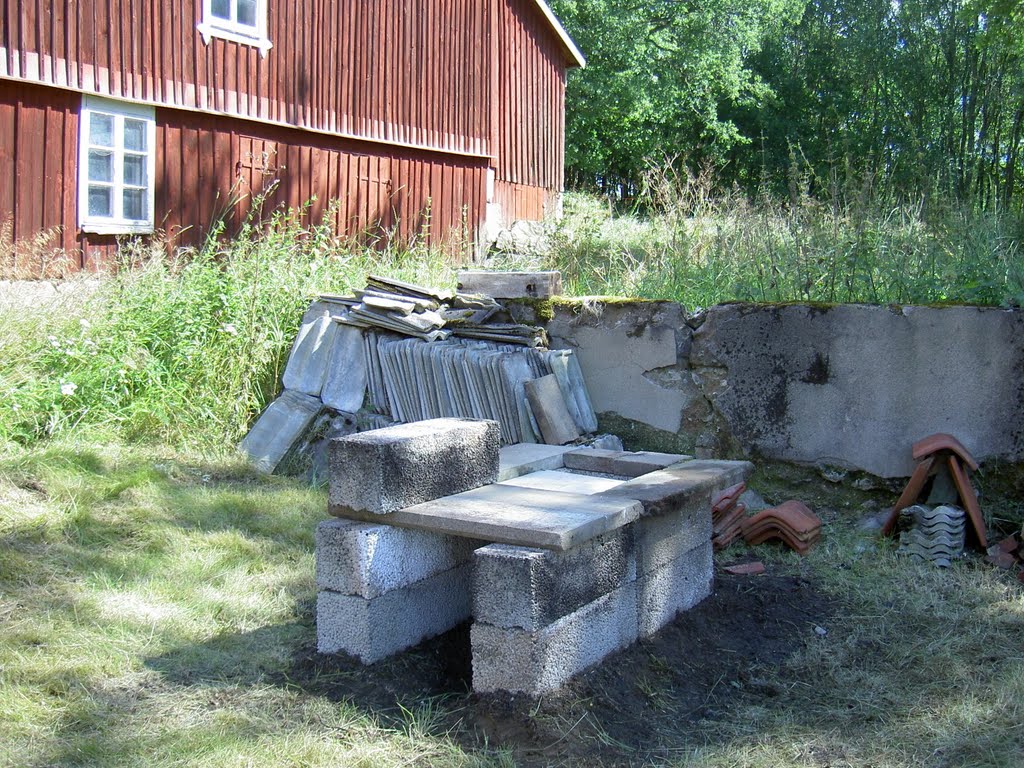
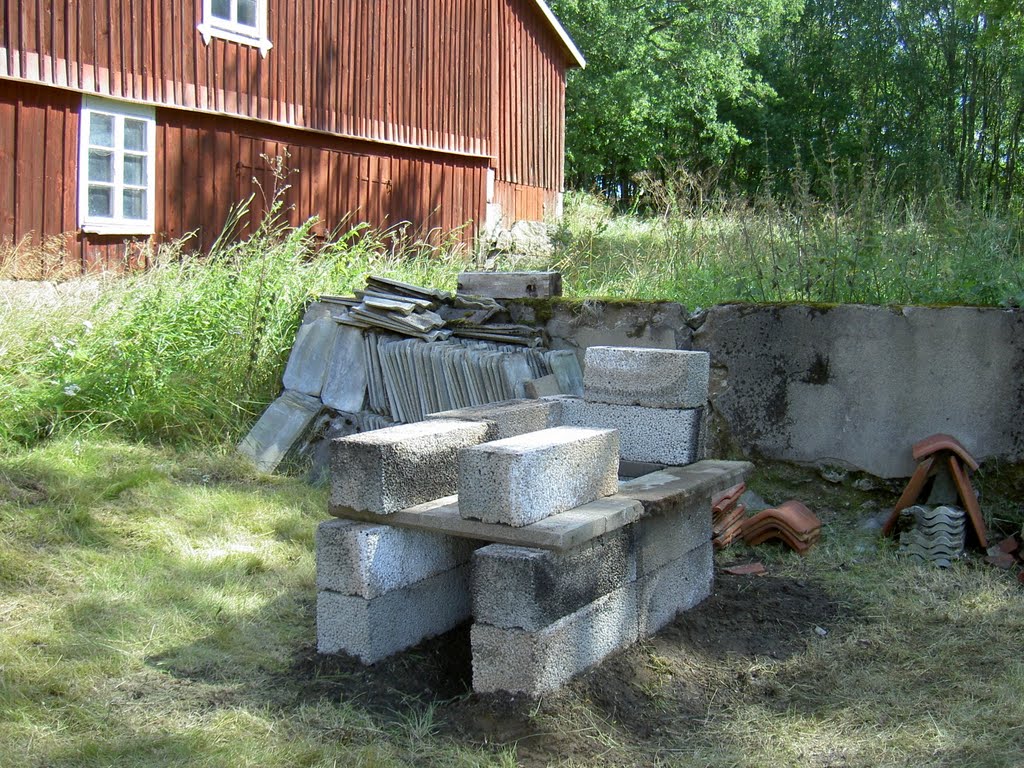
This is the third lecablock.
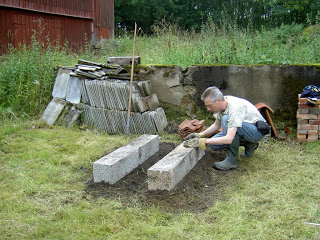
Here I placed the fourth block of the kiln.
Here I place the bottom of the U form, the fifth block, so hereby the basement of the kiln is finished. From here on it is less vital to measure how level the blocks are.

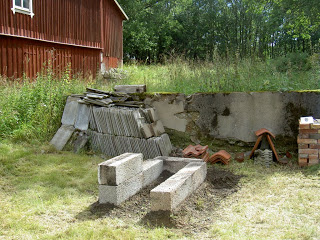
This is the first block of the next level; the sixth block.
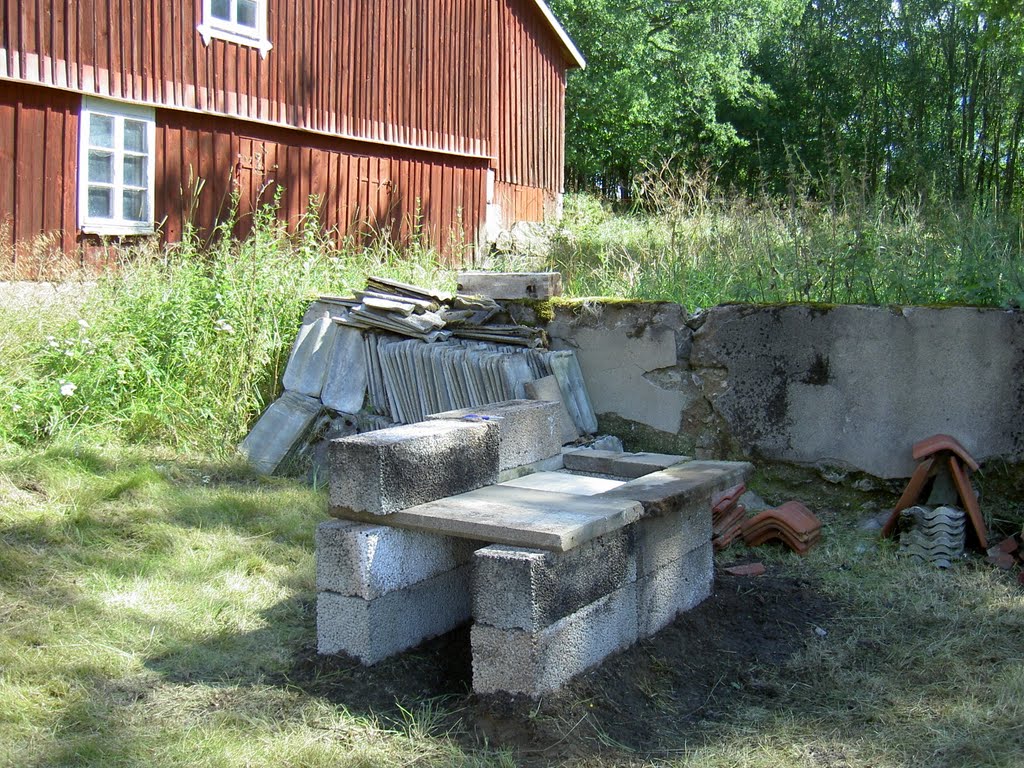
The blocks I use in this kiln has been around for a while so they are showing marks of earlier attempts to build a kiln.
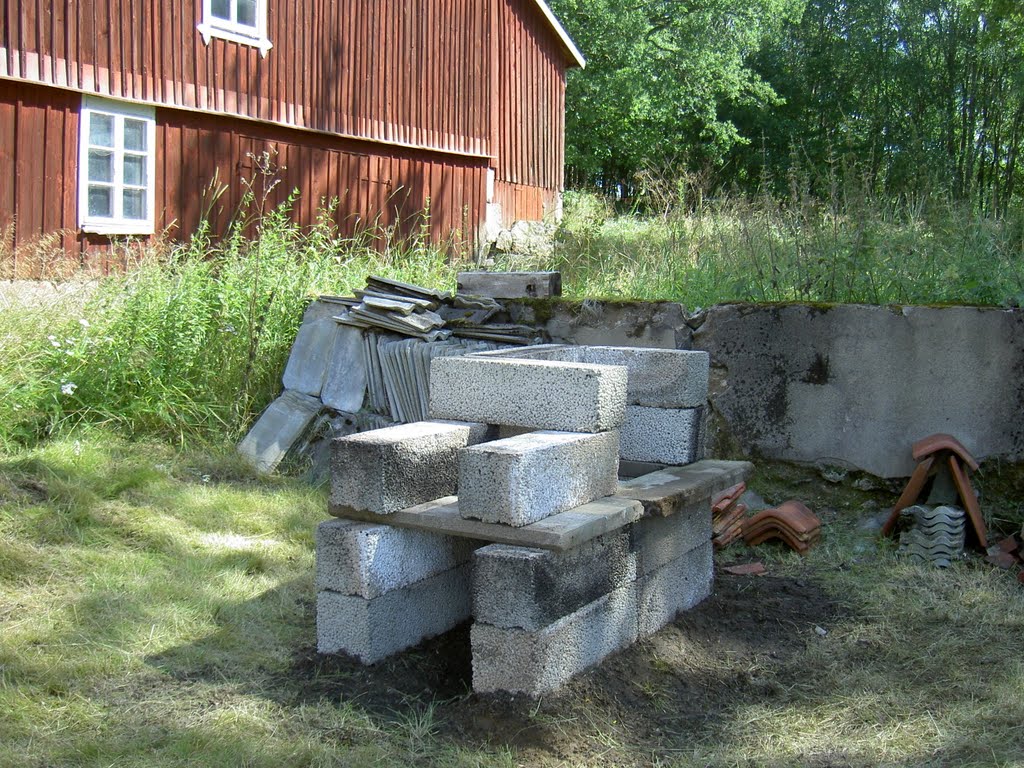
Block number seven.
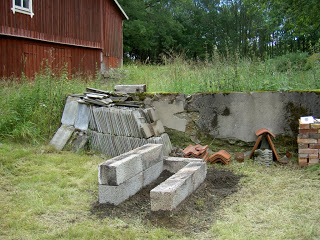
Block number eight.
Block number nine.
Block number ten.
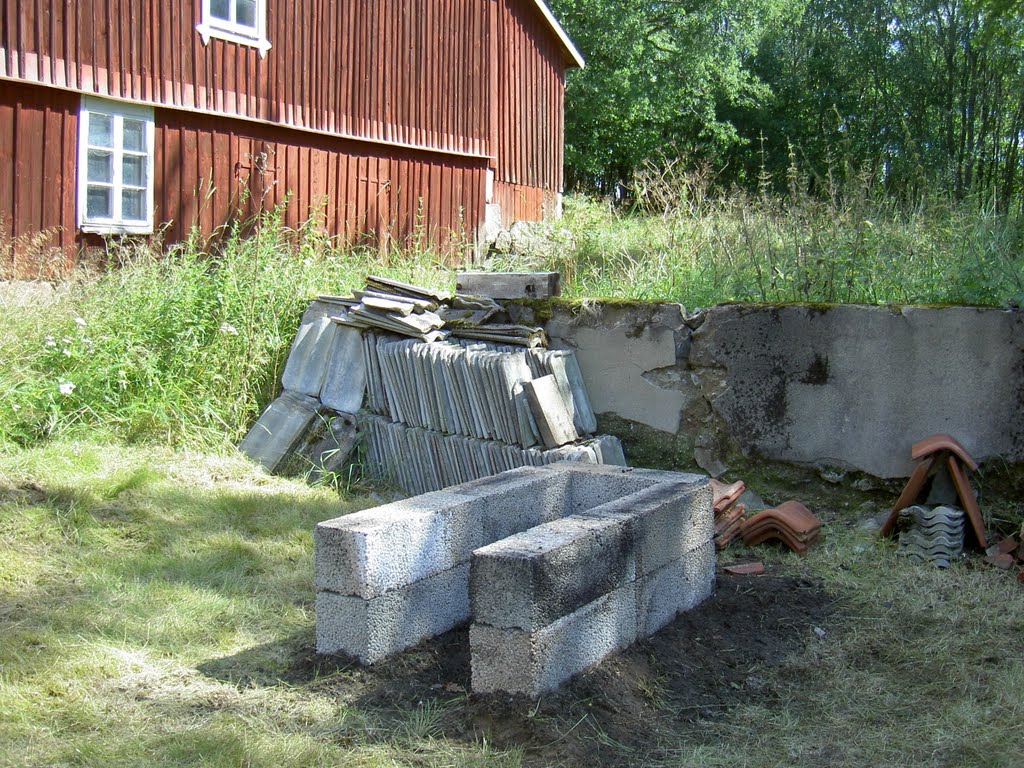
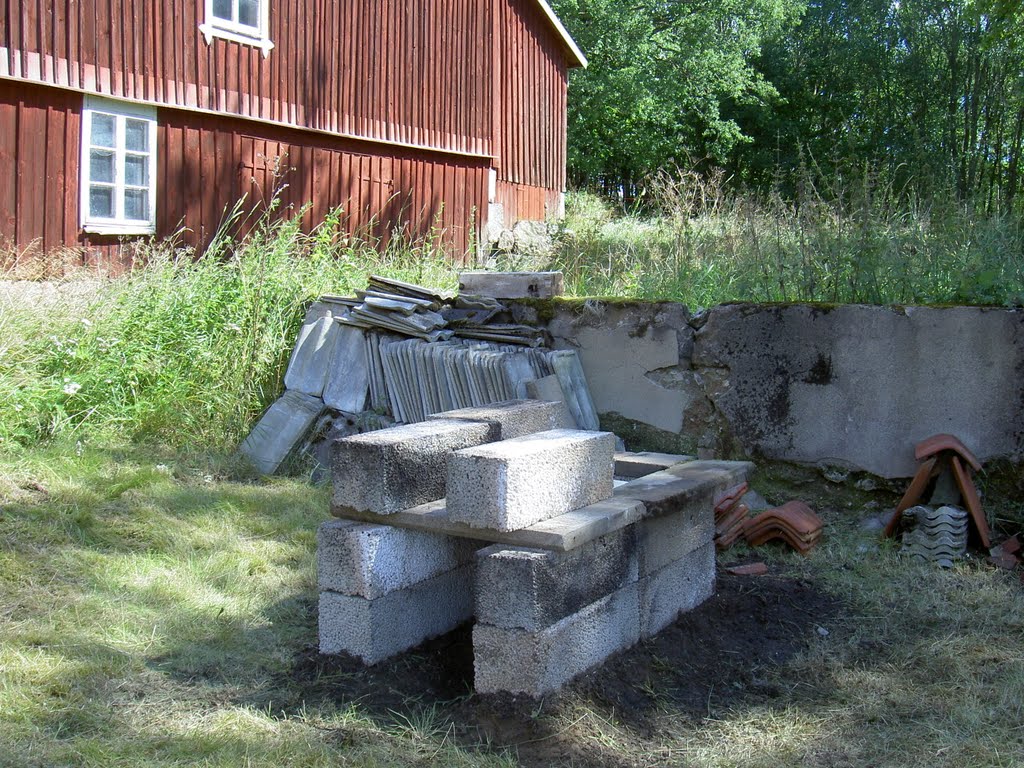
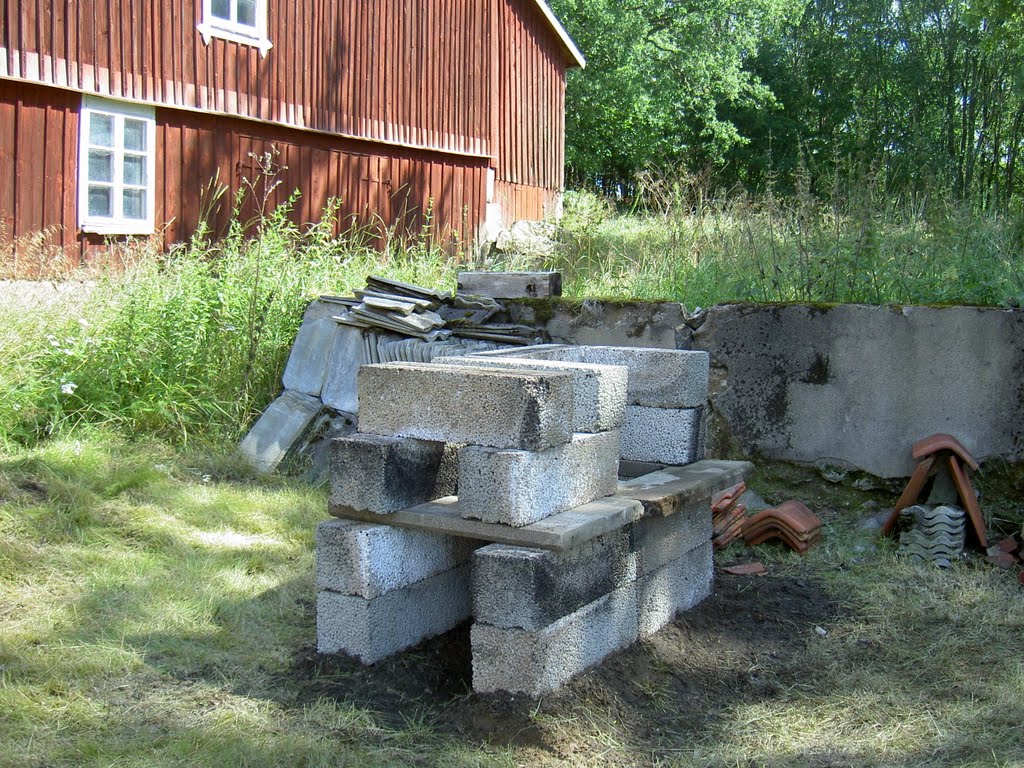
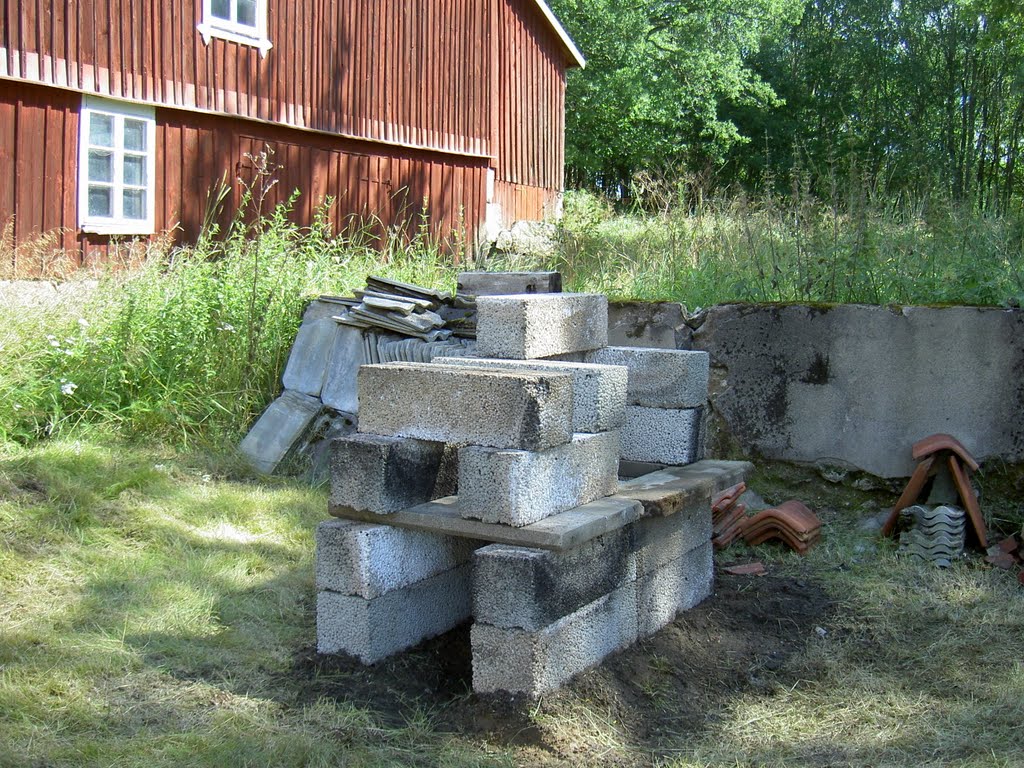
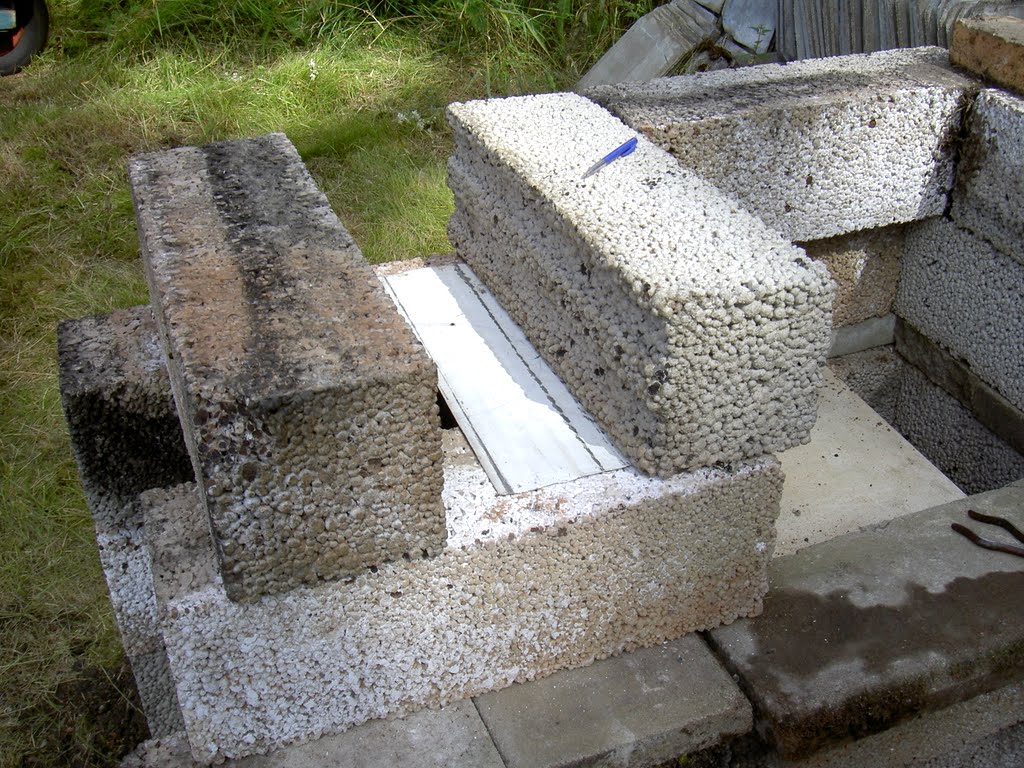
Next comes a layer of the kiln that works as a floor for the chimney. It is possible to use half height lecablock instead but I had concrete blocks lying so I used these instead. These concrete blocks are much sturdier than lecablocks.
The fire will be burning on the ground between the blocks in this image. The exhausts of the fire will go to the back of the oven.
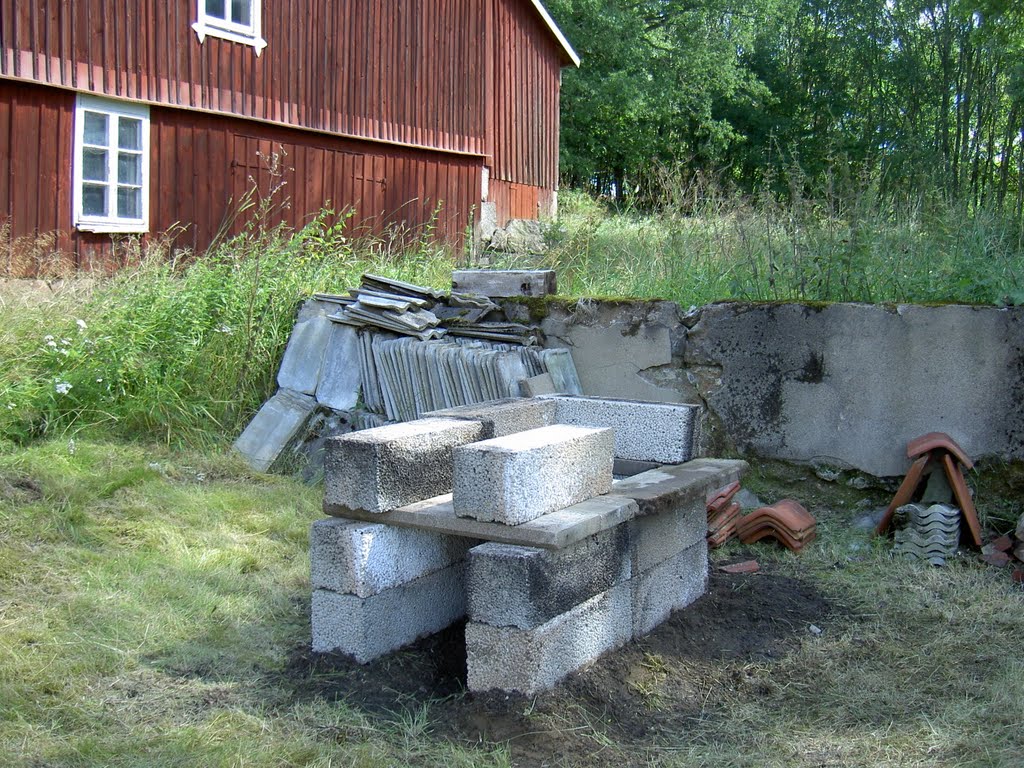
Here comes the first concrete block.
The second concrete block.
Here comes the third concrete block.
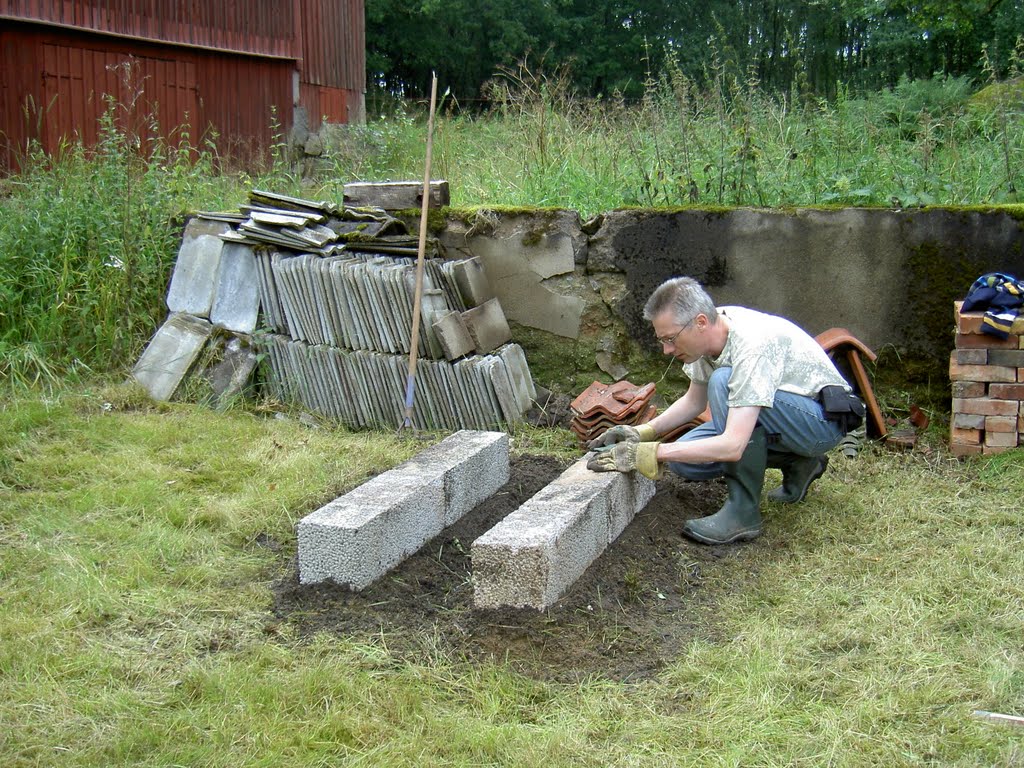
Here is the fourth concrete block. Concrete block three and four need to be lying 40 cm apart from each other because there is room necessary for the ceramic oven plate.
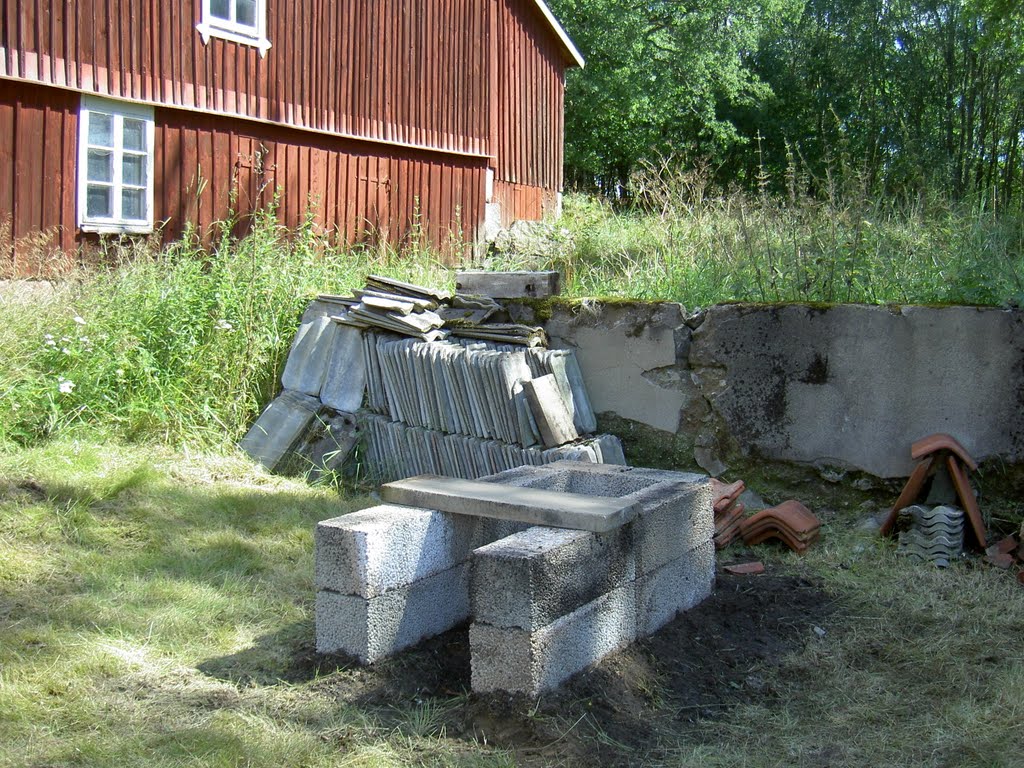
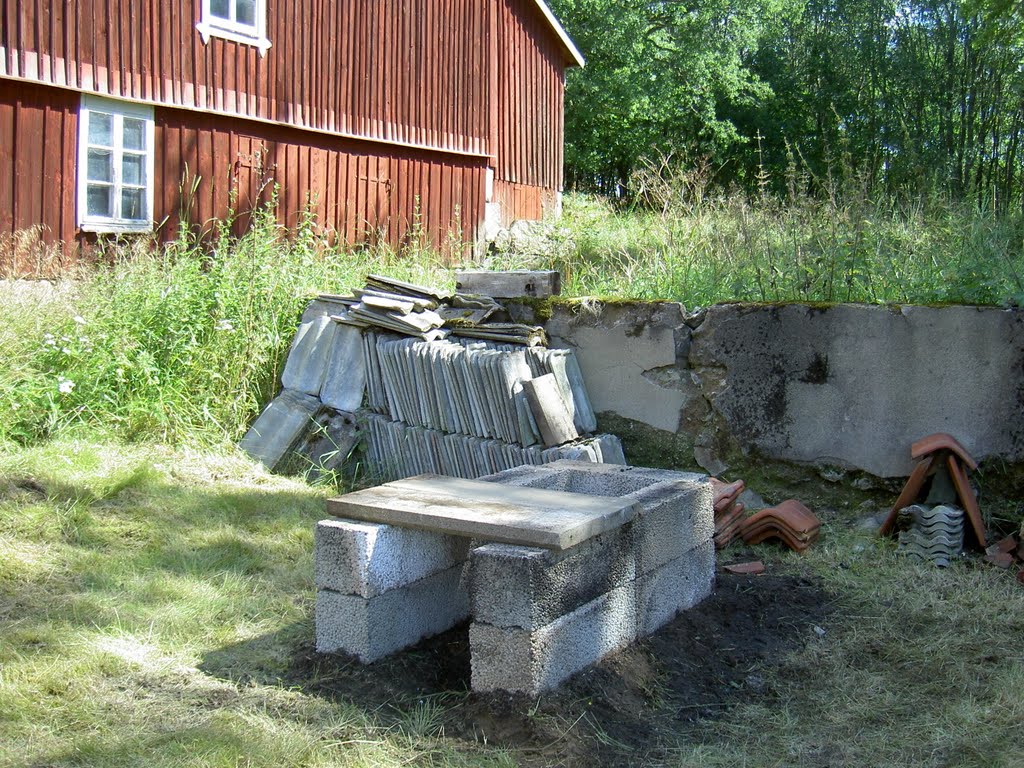
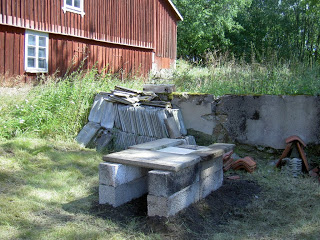
Here is the oven plate. The plate is laying immediately next to concrete block two between concrete block thee and four. There is gap between the oven plate and the bottom of the U shape. That is the gap where the heat and the exhausts will come up from under the kiln.
At the bottom of the U I placed two scrap pieces of the concrete blocks.
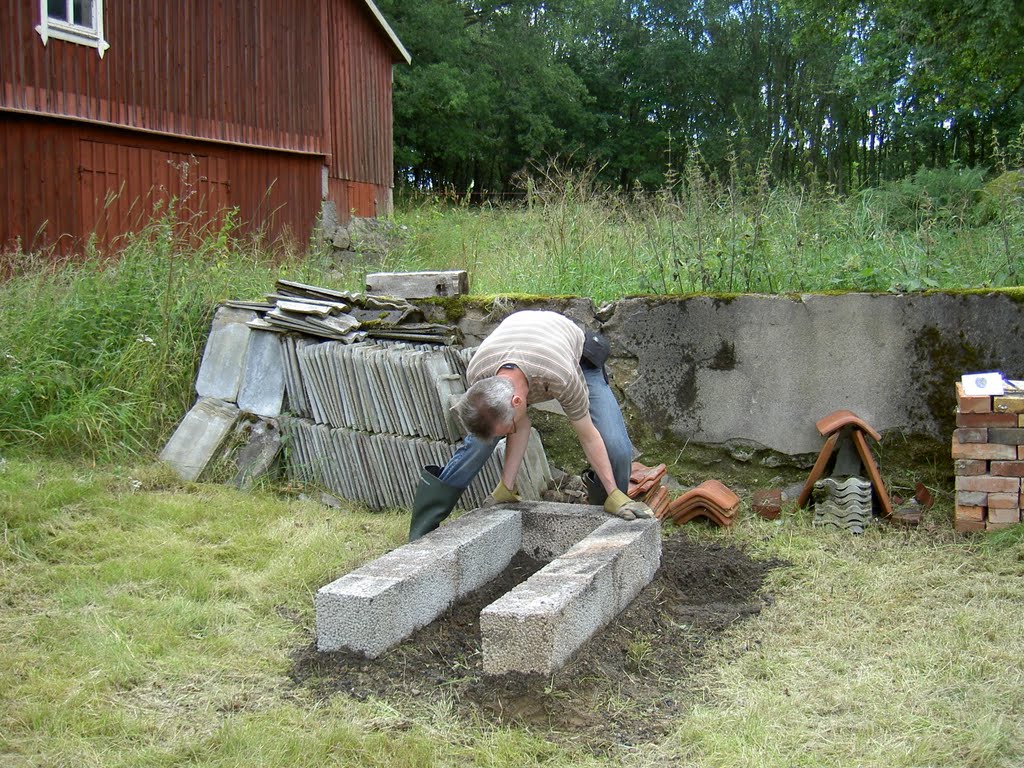
Now I place a lecablock on top of the chimney floor that will support the chimney. This is lecablock eleven.
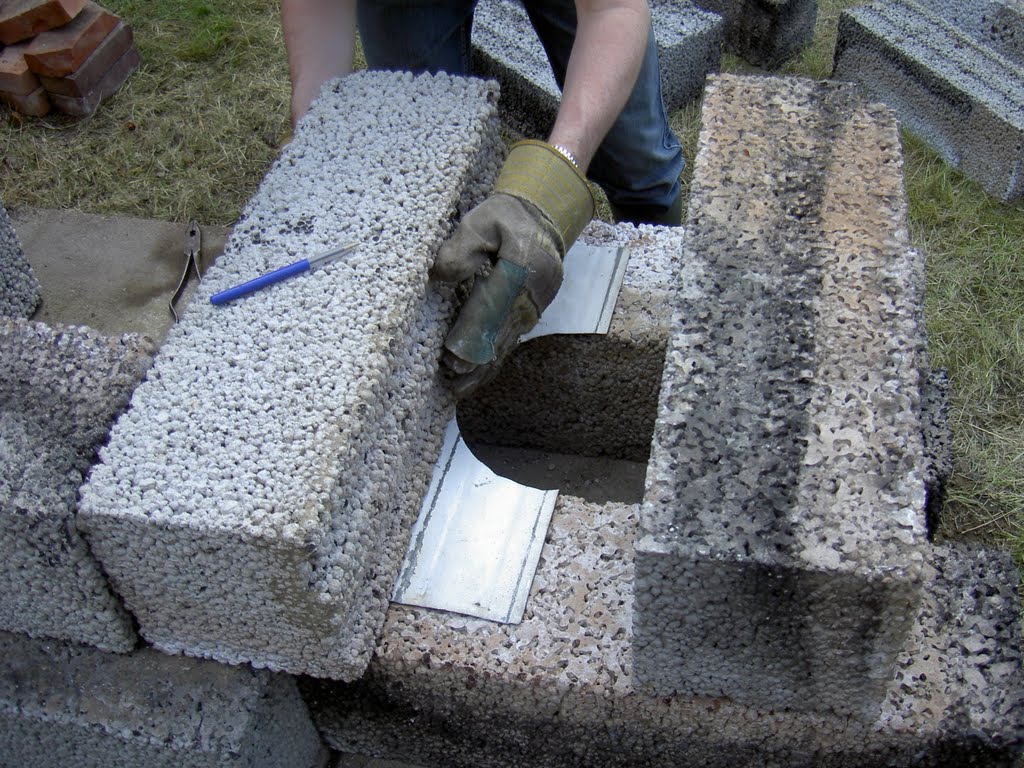
Here I place lecablock number twelve. If you zoom in on the image you will see a blue bic pen lying in a groove I made in this block. That groove forms a hole into the kiln for the pyrometer so that it is possible to measure the temperature in the kiln without a need to open the kiln.
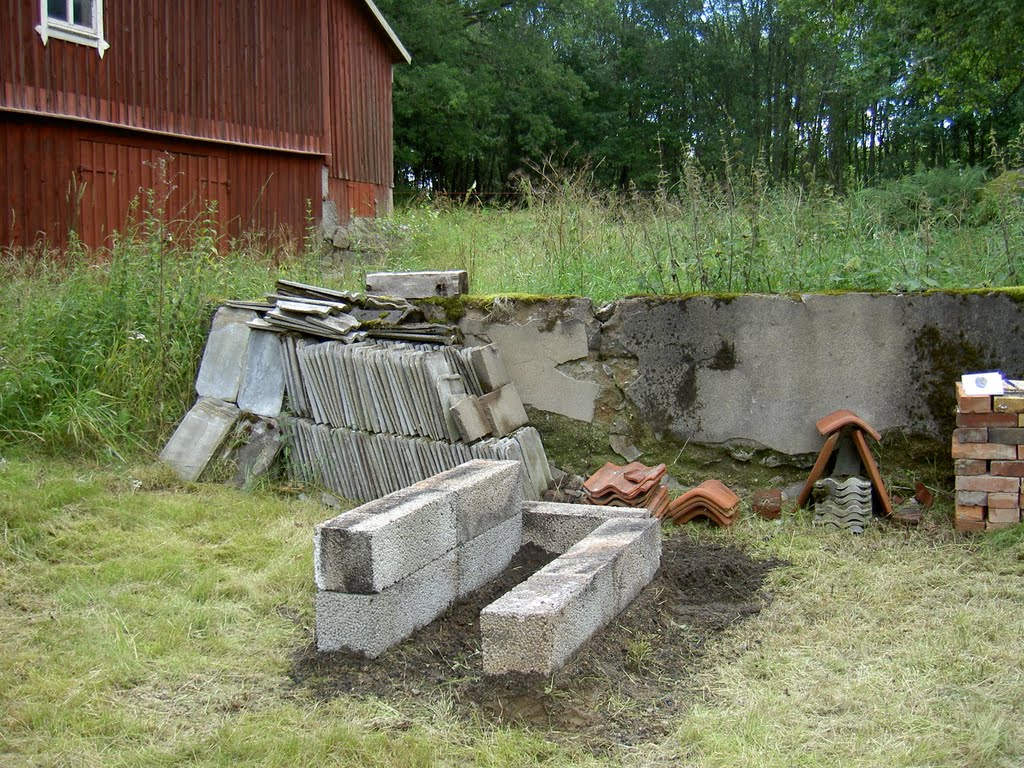
Here is lecablock thirteen. It is the right support stone at the bottom of the chimney. This stone is placed 20cm from the left stone (stone number eleven). That is the width of the chimney tube.
Here I placed lecablock fourteen at the bottom of the U shape.
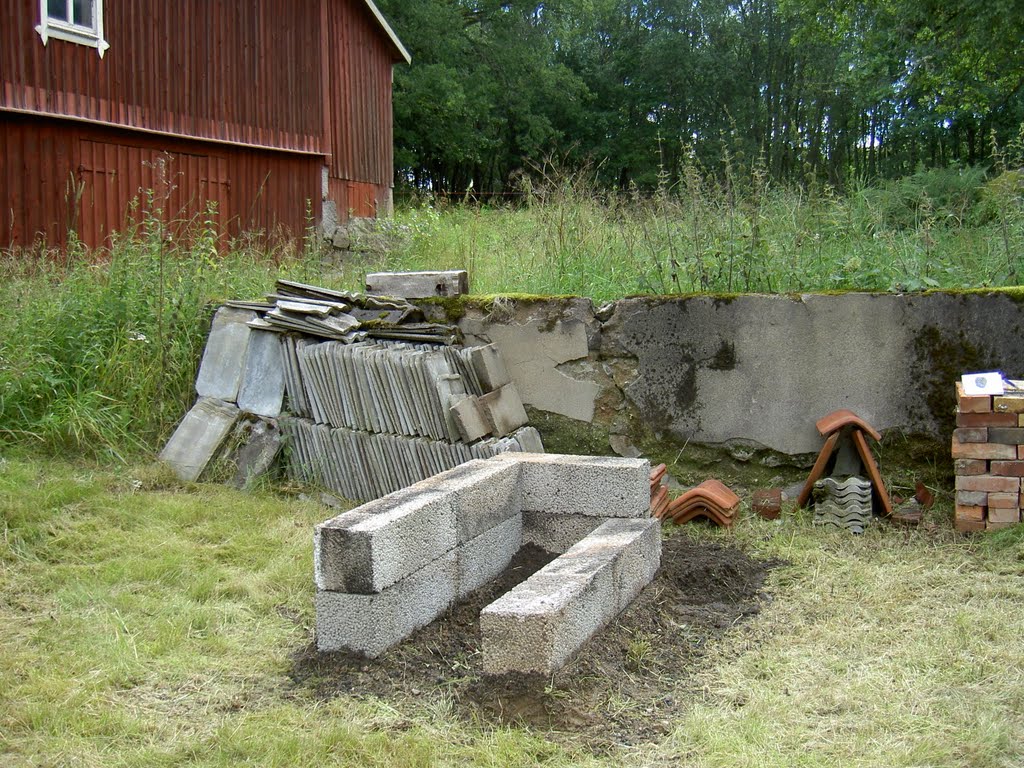
Lecablock fifteen is a bit shorter. It is 18.5cm shorter than a full size block.

Block sixteen.
Block seventeen. This is on one side part of the kiln chamber and on the other side it will support the chimney tube.
Block eighteen. This is a support block for the chimney tube.
Block nineteen. This is the first of the roof blocks of the kiln chamber.
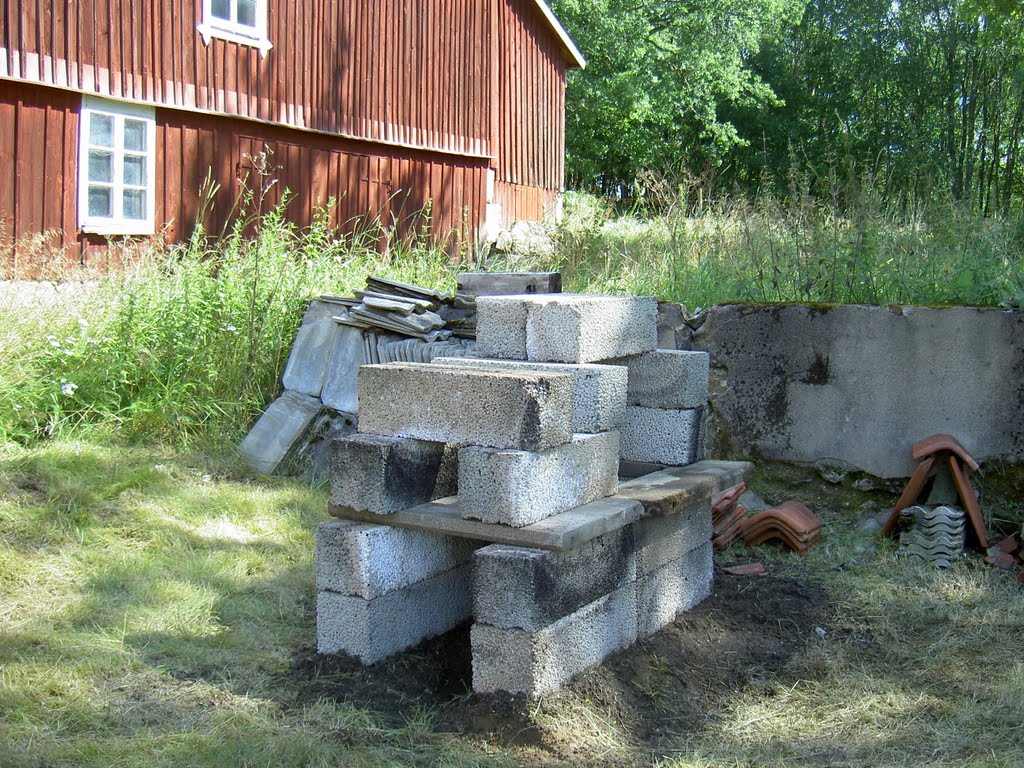
Block twenty. This is the second roof block of the kiln chamber.
Block twenty one. This is the final roof block.
Here I test placing the chimney tube.
Block twenty two. Support for the chimney.
Block twenty three, the final lecablock to support the chimney.
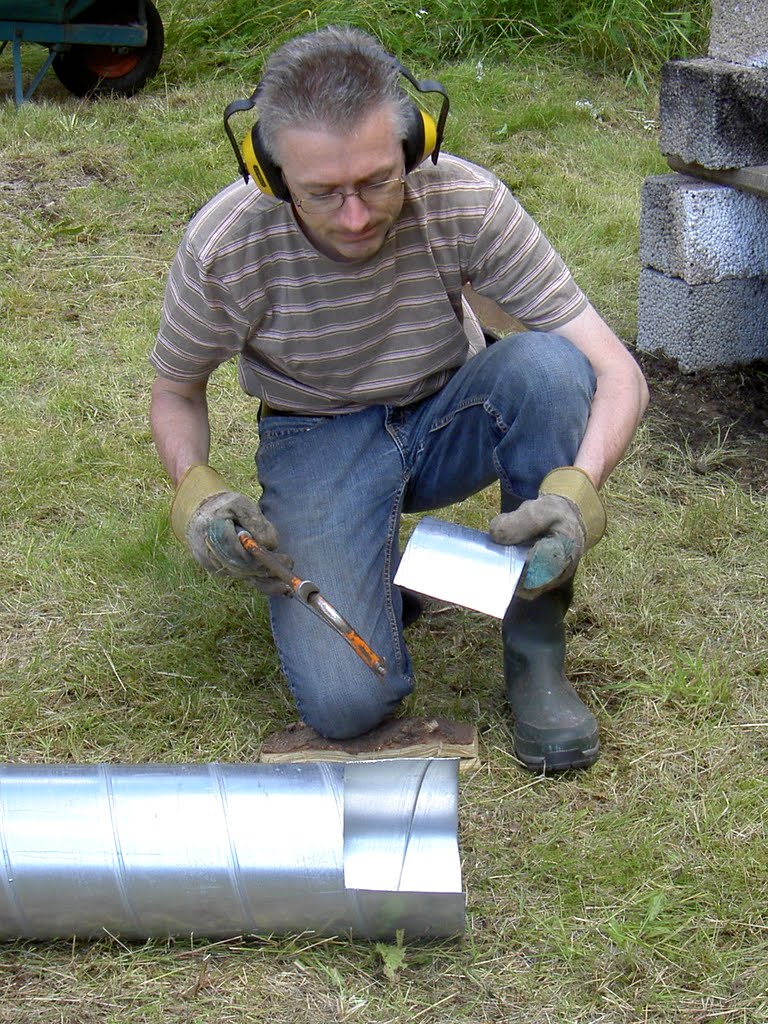
Here I placed a bit of a metal sheet to see how I would cut it. If you zoom in you may see how I marked the rounding of the chimney that I would cut out of the sheet.
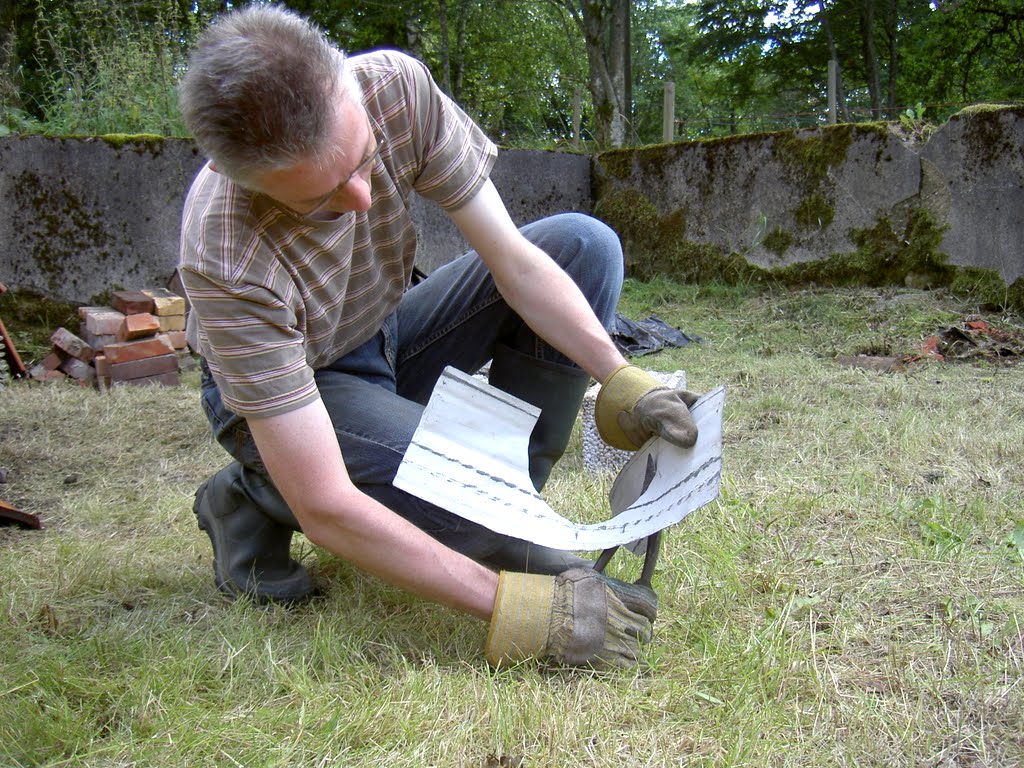
I cut the metal with a sheet metal shears. After cutting I am making the edges smooth with a metal file and I am sanding the edges too.
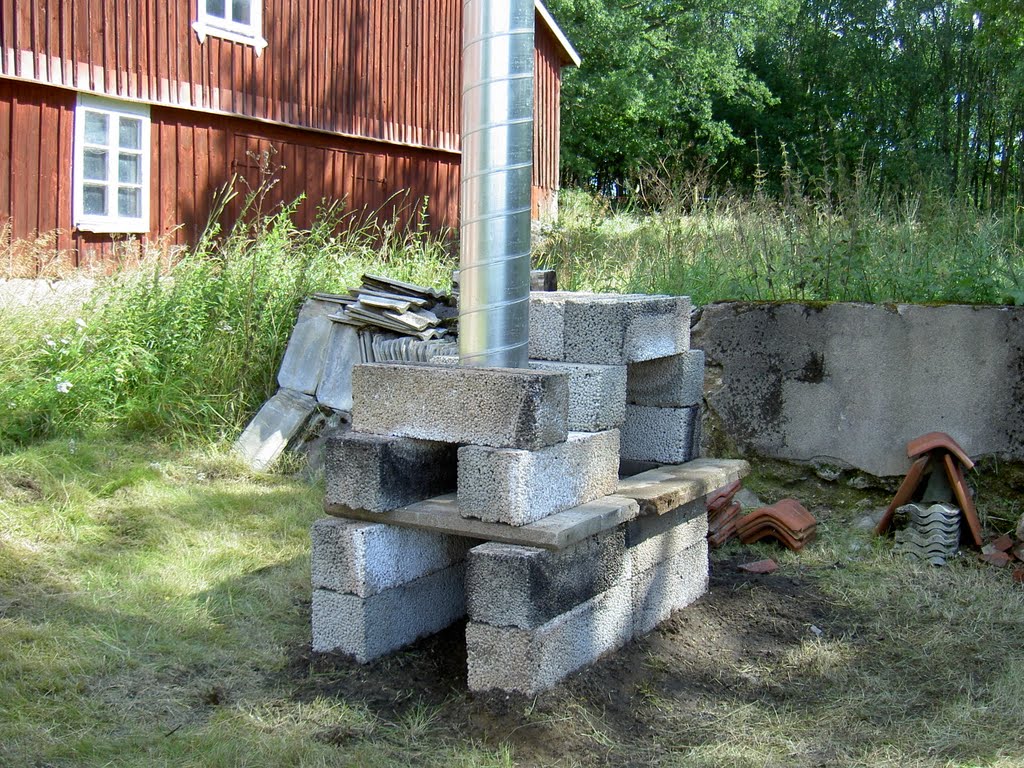
The chimney tube fits nicely here.
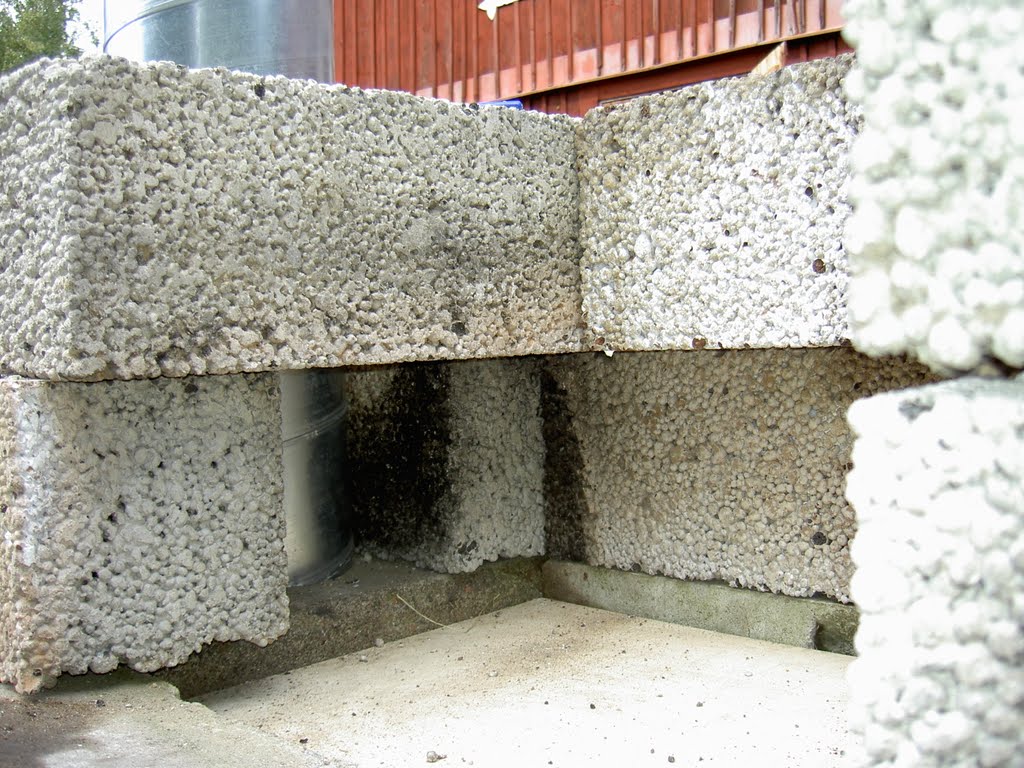
Here you can see how the chimney tube is standing on the chimney floor. To let exhausts in to the chimney from the kiln chamber I need to make an opening in the chimney tube.
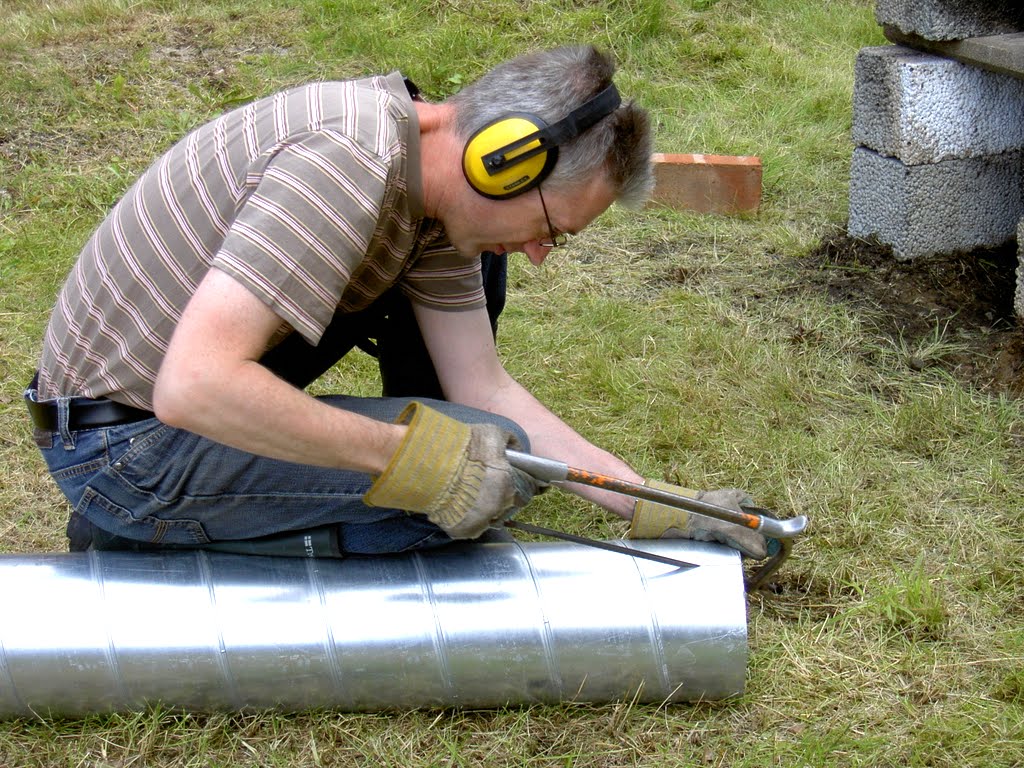
I use a hacksaw to cut the tube. This was so noisy I had to wear hearing protection.
I made the opening 13.3cm high.
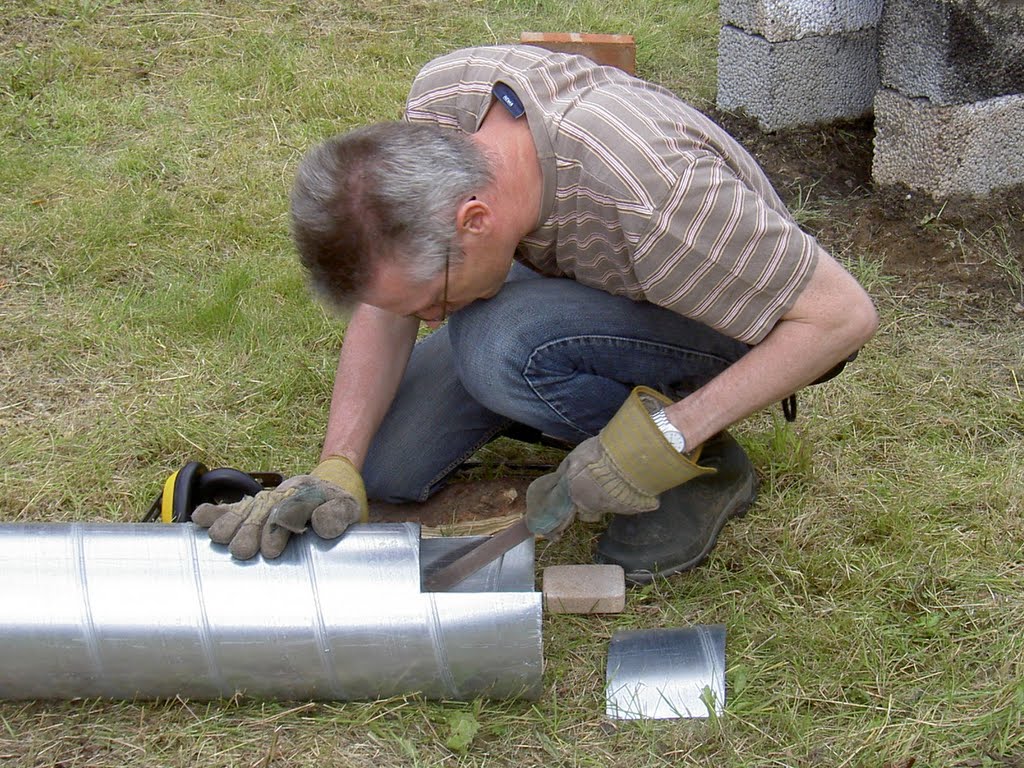
For the case the chimney tube is moved it is necessary that all edges are smooth so here I am using a metal file to make the edges smooth and hand friendly.
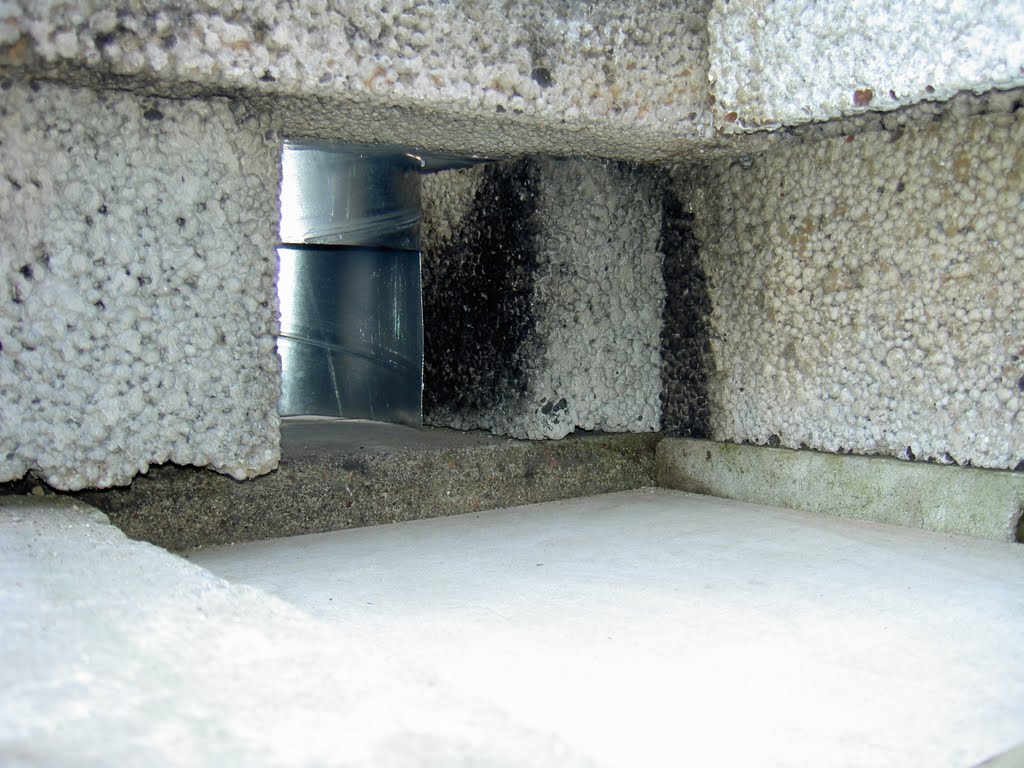
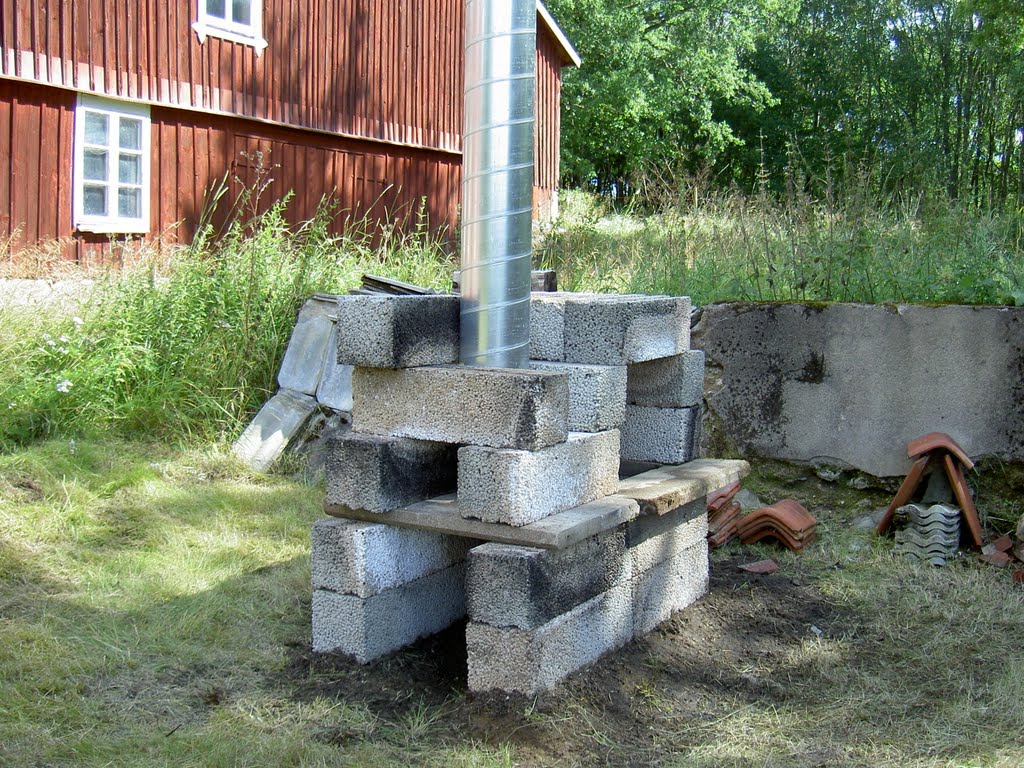
Here is the chimney with the exhausts opening from the kiln chamber.
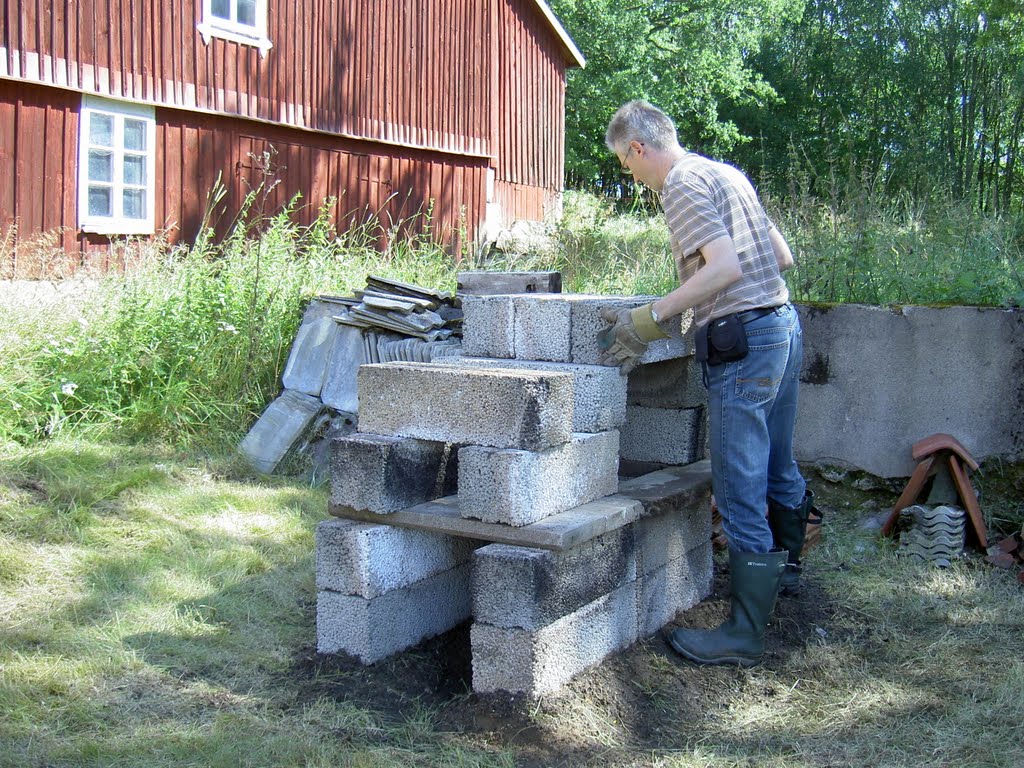
Here I placed block twenty four and the concrete block number five so the chimney cannot fall over so easily. On this image I am using ceramic clay to tighten small gaps between the blocks. It is important that the exhausts will escape through the chimney only so that the heat is forced to pass through the ceramic goods.
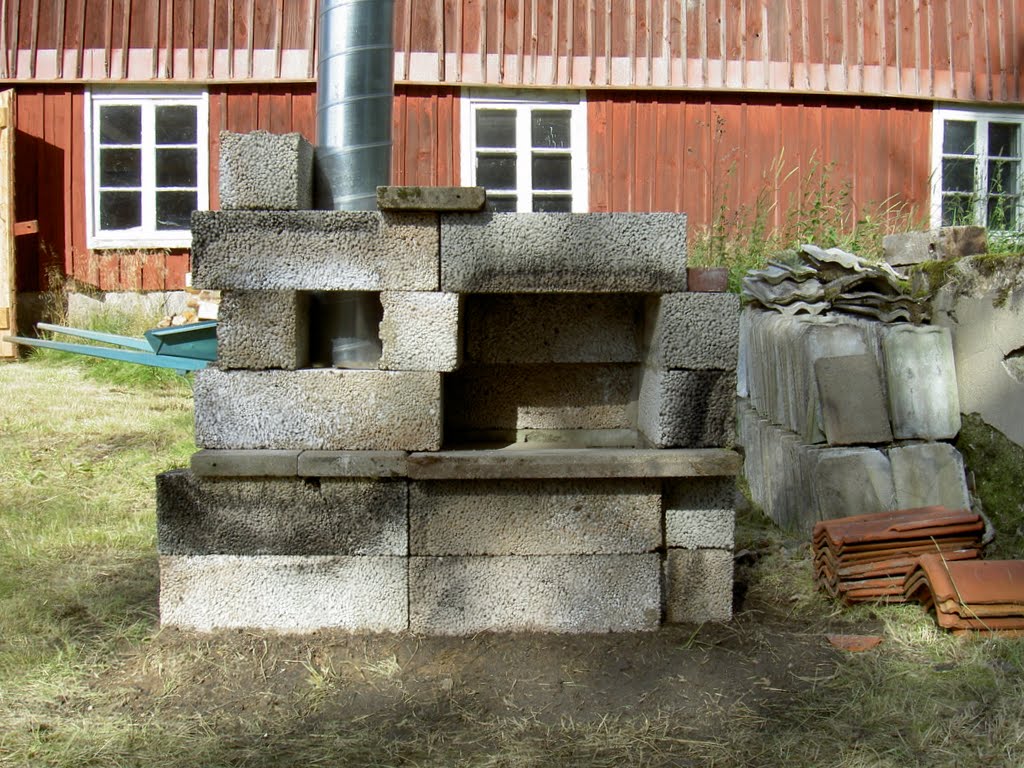
Here is the he completed kiln from the side where the opening to the kiln chamber is open.
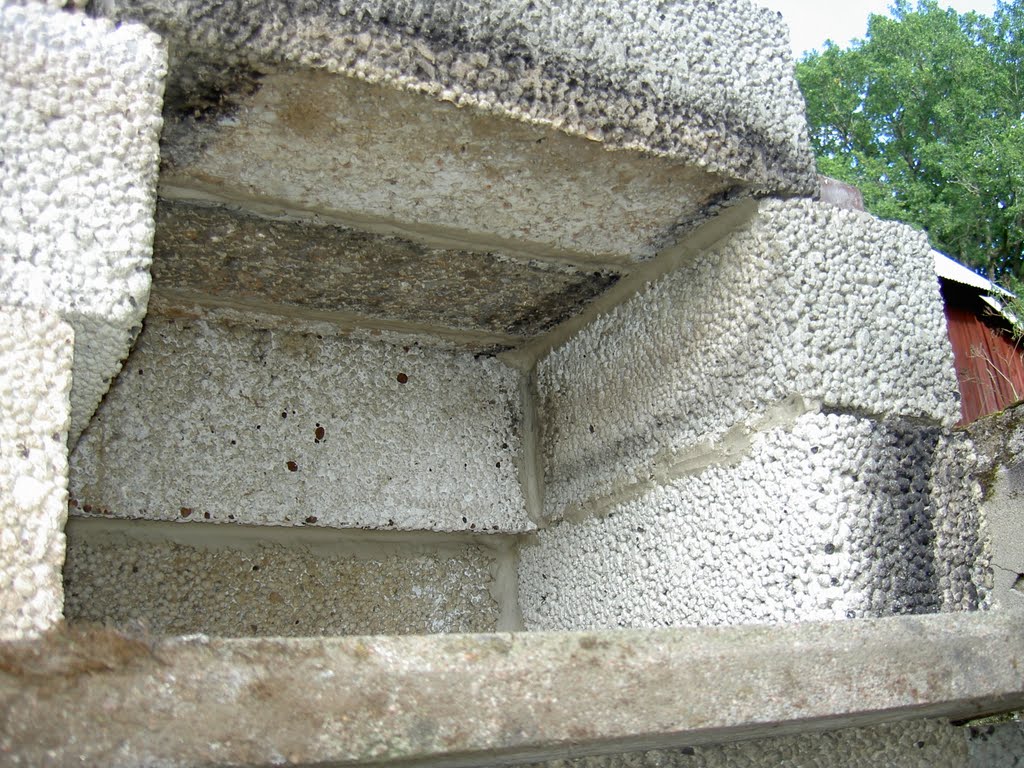
On this image you can see how I pressed ceramic clay into the joints between the blocks.
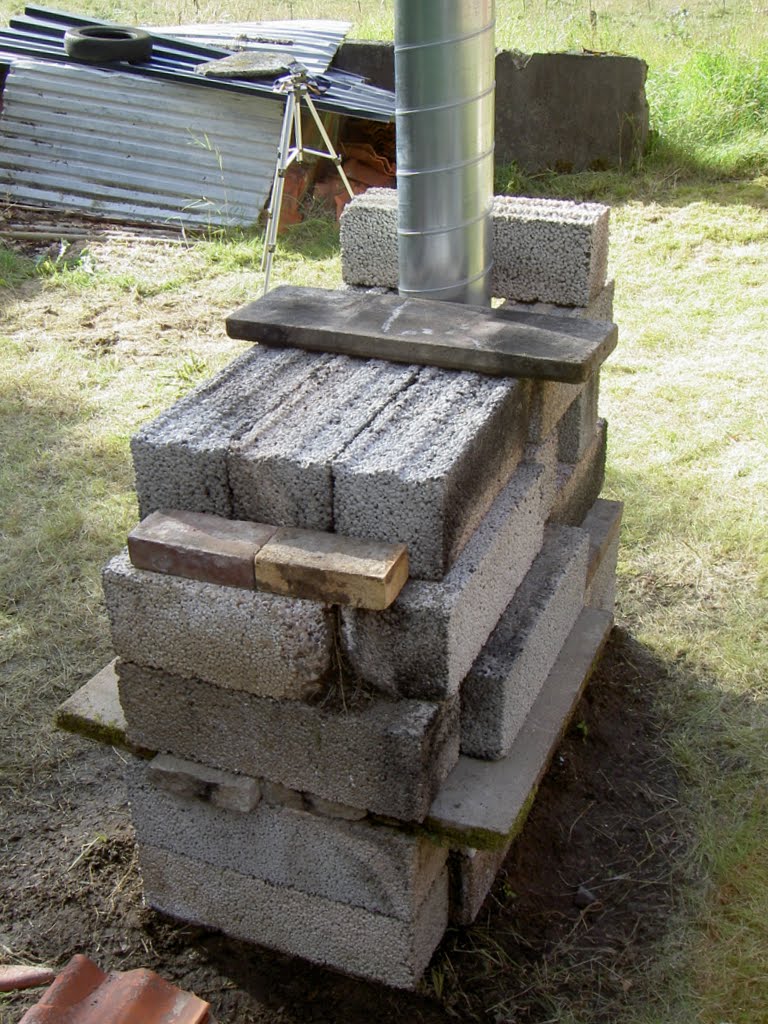
This is the kiln from behind. I placed two bricks at the back to be sure it is not leaking. The clay should work but I had these lying so I placed them there.
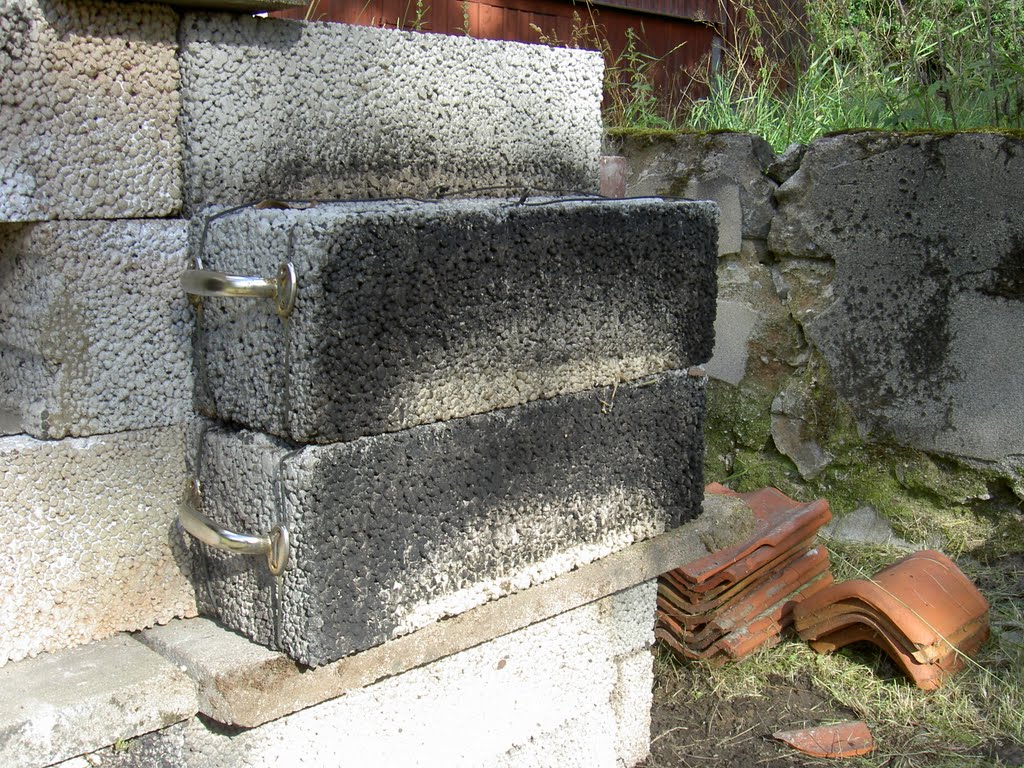
The opening of the kiln chamber is sealed with blocks prepared with handles so that it is possible to open the kiln when things are glowing inside. It is said you can use nails and things in the blocks but I decided to use wire to fix the handles.


 Finished the roof of the wood-store houseGot all roofboards mounted!Replacing the roof of the wood-store house at our cottage in SwedenRenovation of root cellar roofMounted the winchFetched planksStayed at our CottageRepaired the washing machineCottage improvementsFront porch ornamentPainting the ceiling in the cottageSunset over Småland - Illusionistic RibbonsCurve at SunneråsMorning ViewSlender Sculpture
 I moved from Sweden to The Netherlands in 1995.
Here on this site, you find my creations because that is what I do. I create.