| Schoolbuilding in Vågdalen, Jämtland |
Boathouse at Fångsjön, Jämtland |
Framing

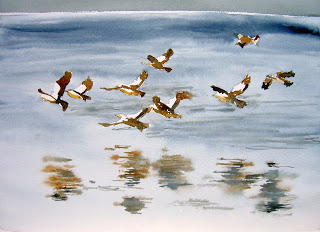
The aquarelle club www.aquarelmere.nl is about to do an exhibition in Laren in August. I decided to provide this painting. Unfortunately this image is taken with a bit of distortion because the gray band at the top is supposed to look like a gray horizon, and it should be straight. Here it is round. Oh well that is to be blamed on the camera.
The painting is supposed to be displayed in a frame behind glass. I will show how I do it here.

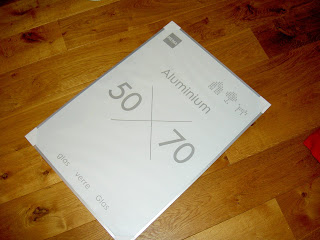
I start off with a photo/painting frame. Normally I buy these from V & D but this time they were out of stock so I bought the frame at Hema. Dutch shops. I tend to choose aluminum frame and real glass, no plastic.
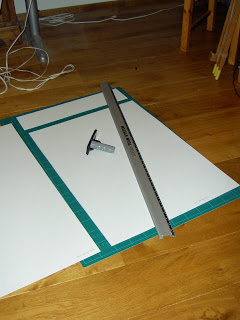
I don't buy my passe-partout but I make them myself from thick cardboard. All the work with the passe-partout am I doing on the floor since that is the only place where can place a huge cardboard paper.
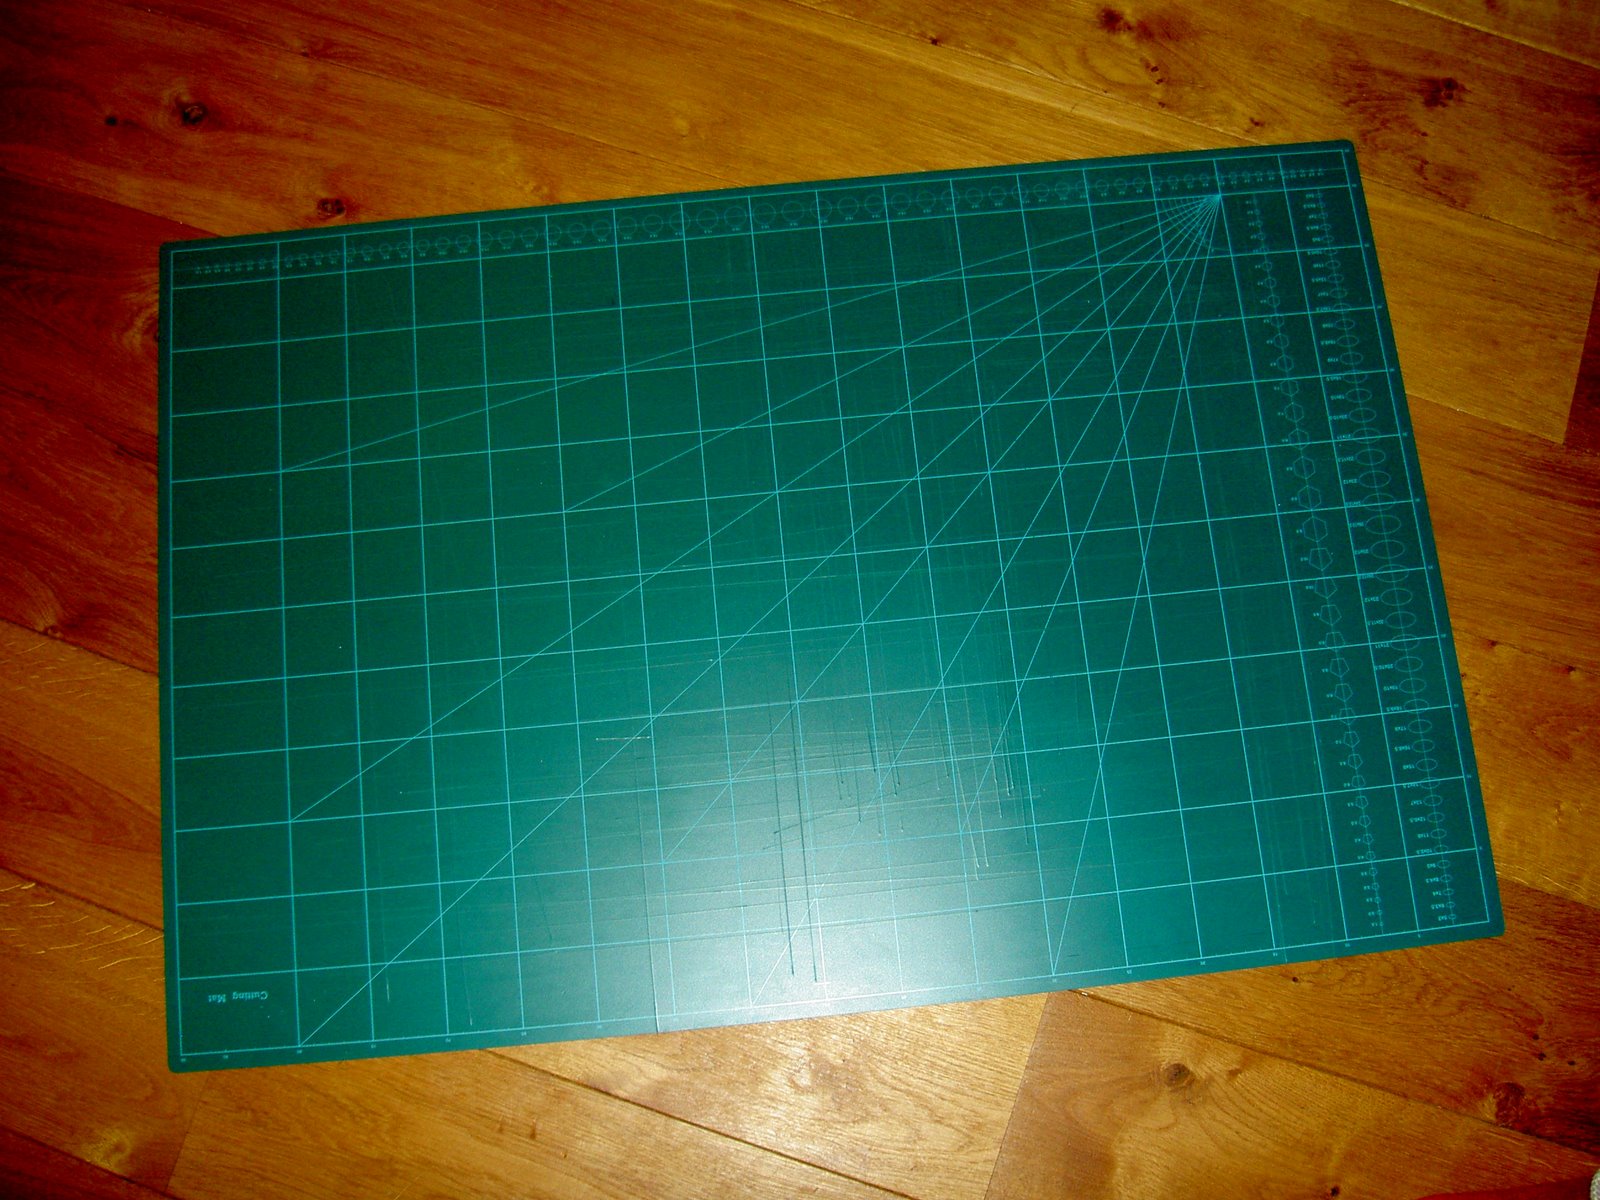
Since I am going to cut I need a cutting mat at the bottom.
On top of the cutting mat I place the cardboard. The cardboard is Bainbridge 4065. One of my colleagues at www.aquarelmere.nl has a stock of various colors of cardboard but I stick to one almost white cardboard all the time.
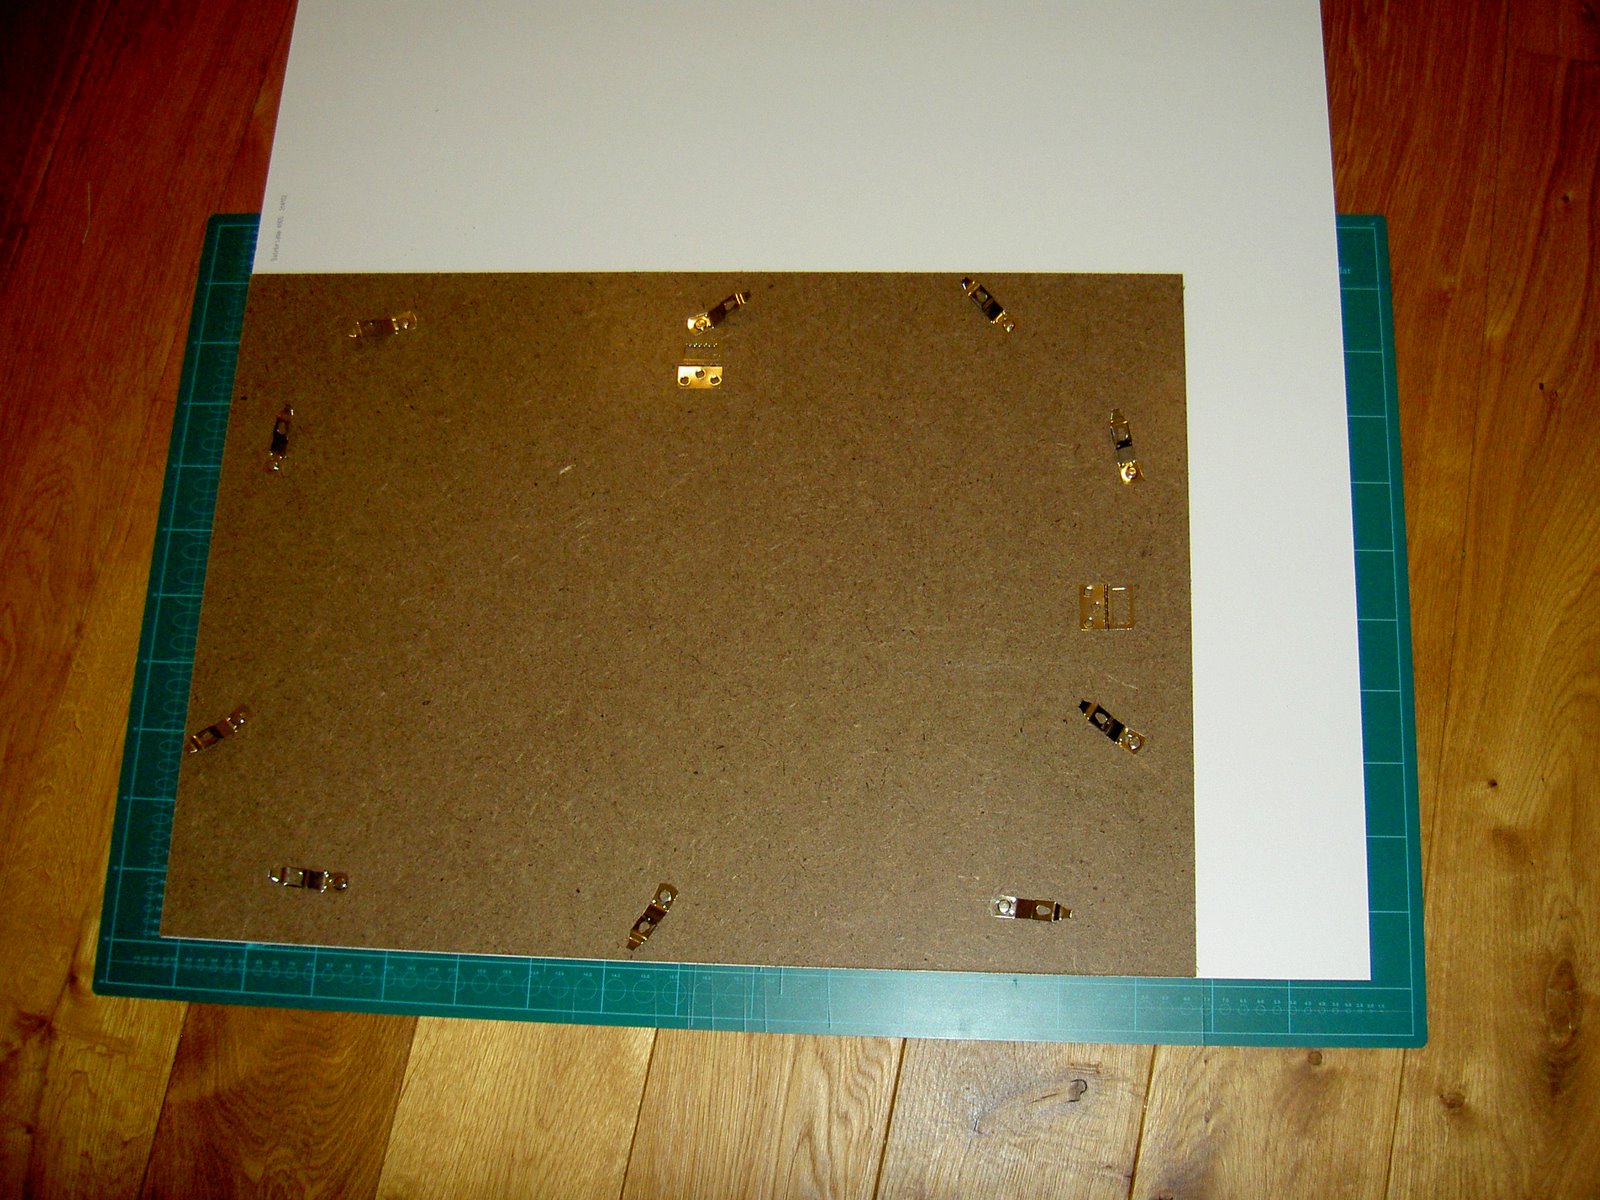
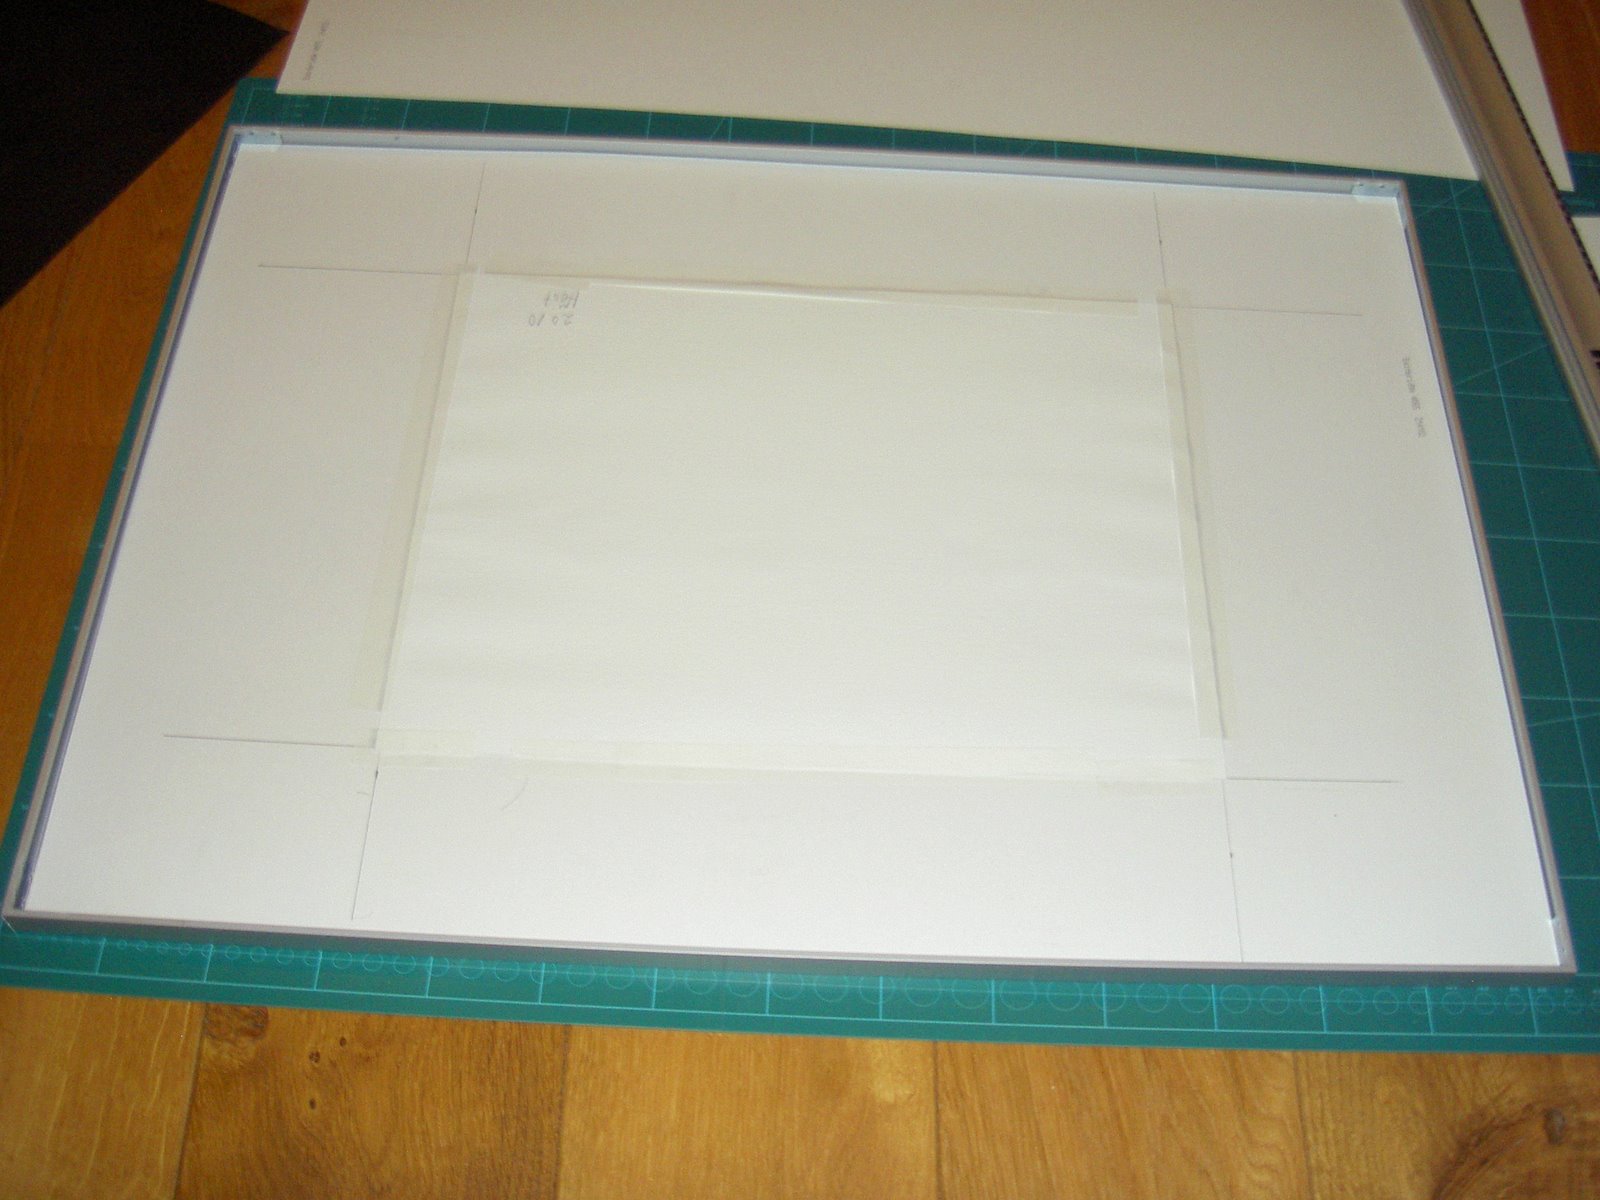
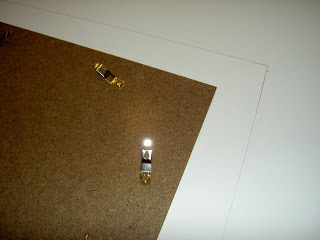
On top of the cardboard I place the back plate of the frame.

Edges of the back plate
I mark the edges of the back plate so that I can follow these when I cut out the cardboard to the same size as the back plate of the frame.
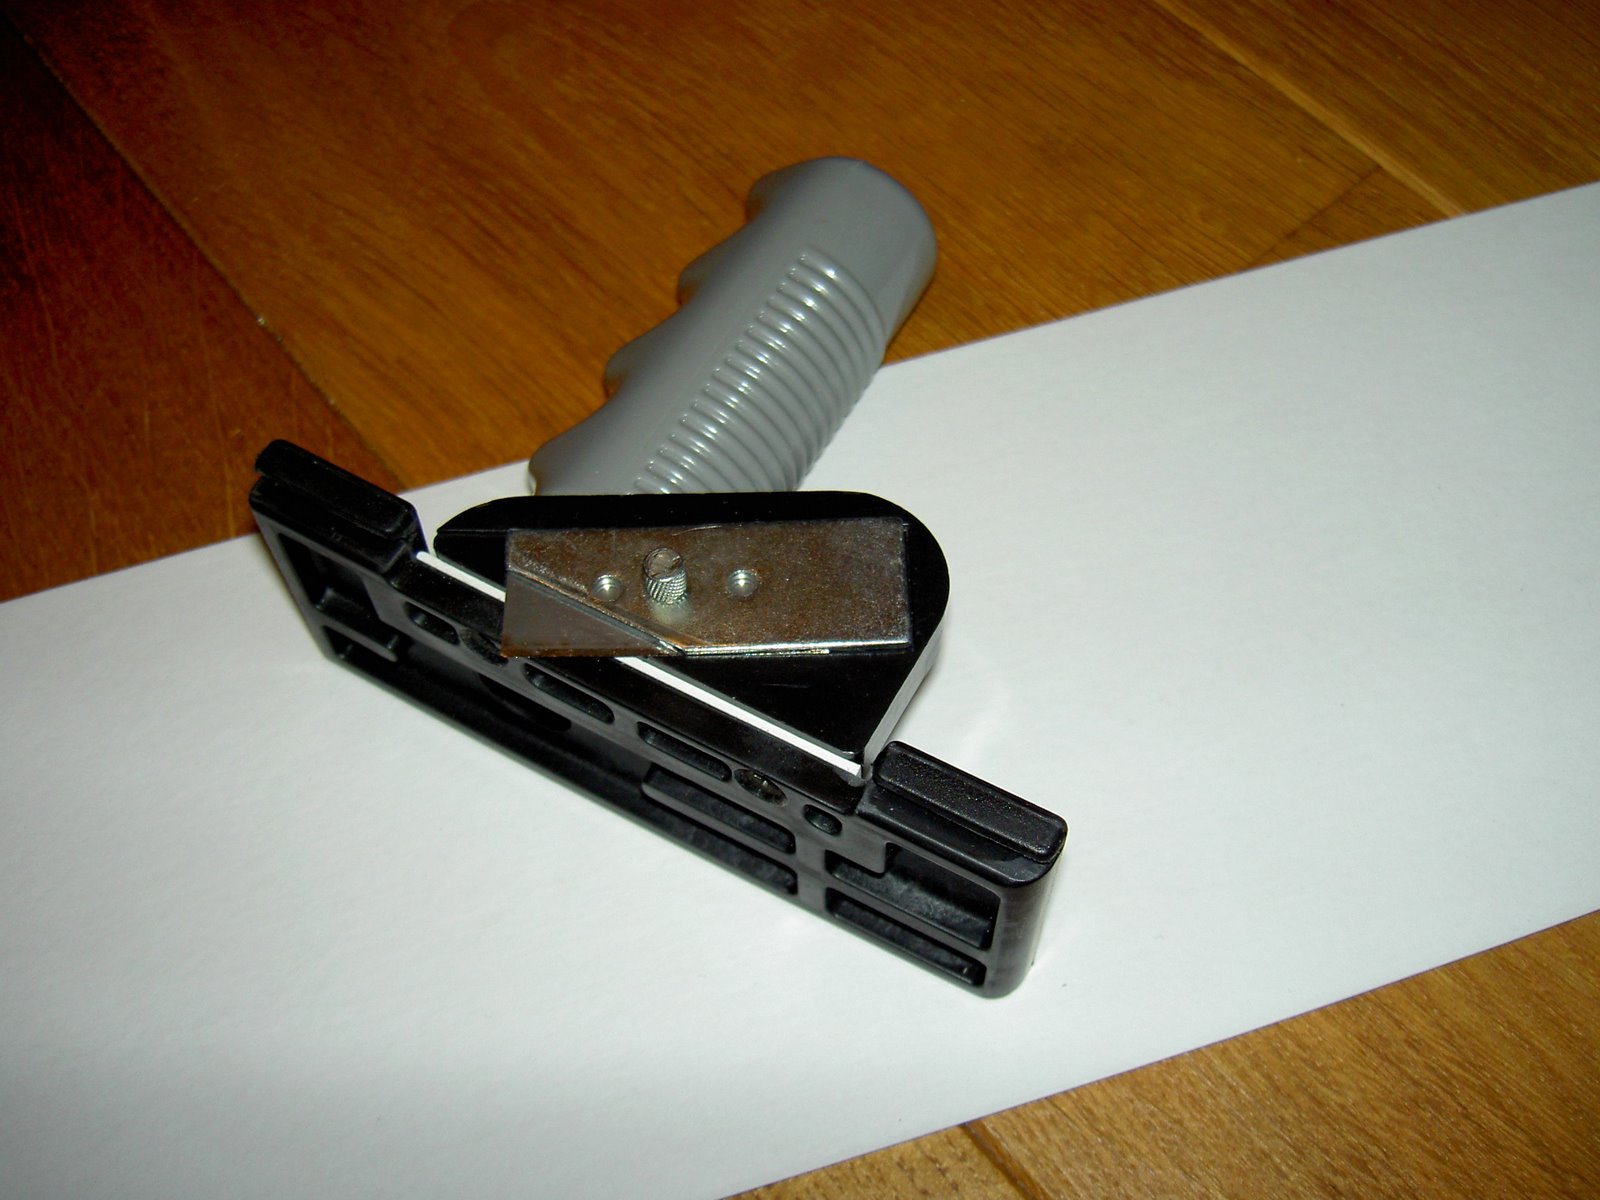
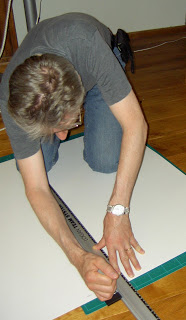
Then I take the straight cutter to cut out a piece of the cardboard so that it has the same size as the back plate.
The white line between the base of the cutter and the razor blade holder is a piece of cardboard that I put there so that the cutter would not cut too deep.

I figured out that if I place one knee on one end of the ruler and then holding the ruler with one hand then the free hand can do the cutting. The ruler will not go anywhere if it is held like this.
Here I drag the knife towards me.

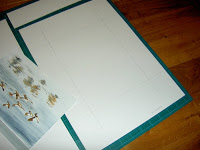
Now I have my piece that will be the passe-partout. The next step is to measure the painting.

It is important to calculate for overlap so that the painting will not fall through. I let the painting overlap the passe-partout at least a couple of millimeters.
Here I made the area for the painting symmetric. This is good for most people. I have seen many older paintings in passe-partout where the upper part is thinner than the lower part. I have tried that and I think that looks good. I made a couple of such passe-partouts and then I learned that there are people who don't know about this and don't appreciate it. So for the time being I stopped doing asymmetric passe-partouts. Later on I will figure out the proper math behind it, I expect it has to do with the golden cut again again. When I have that formula then I can rely on that and do the passe-partouts the way I like it the most.
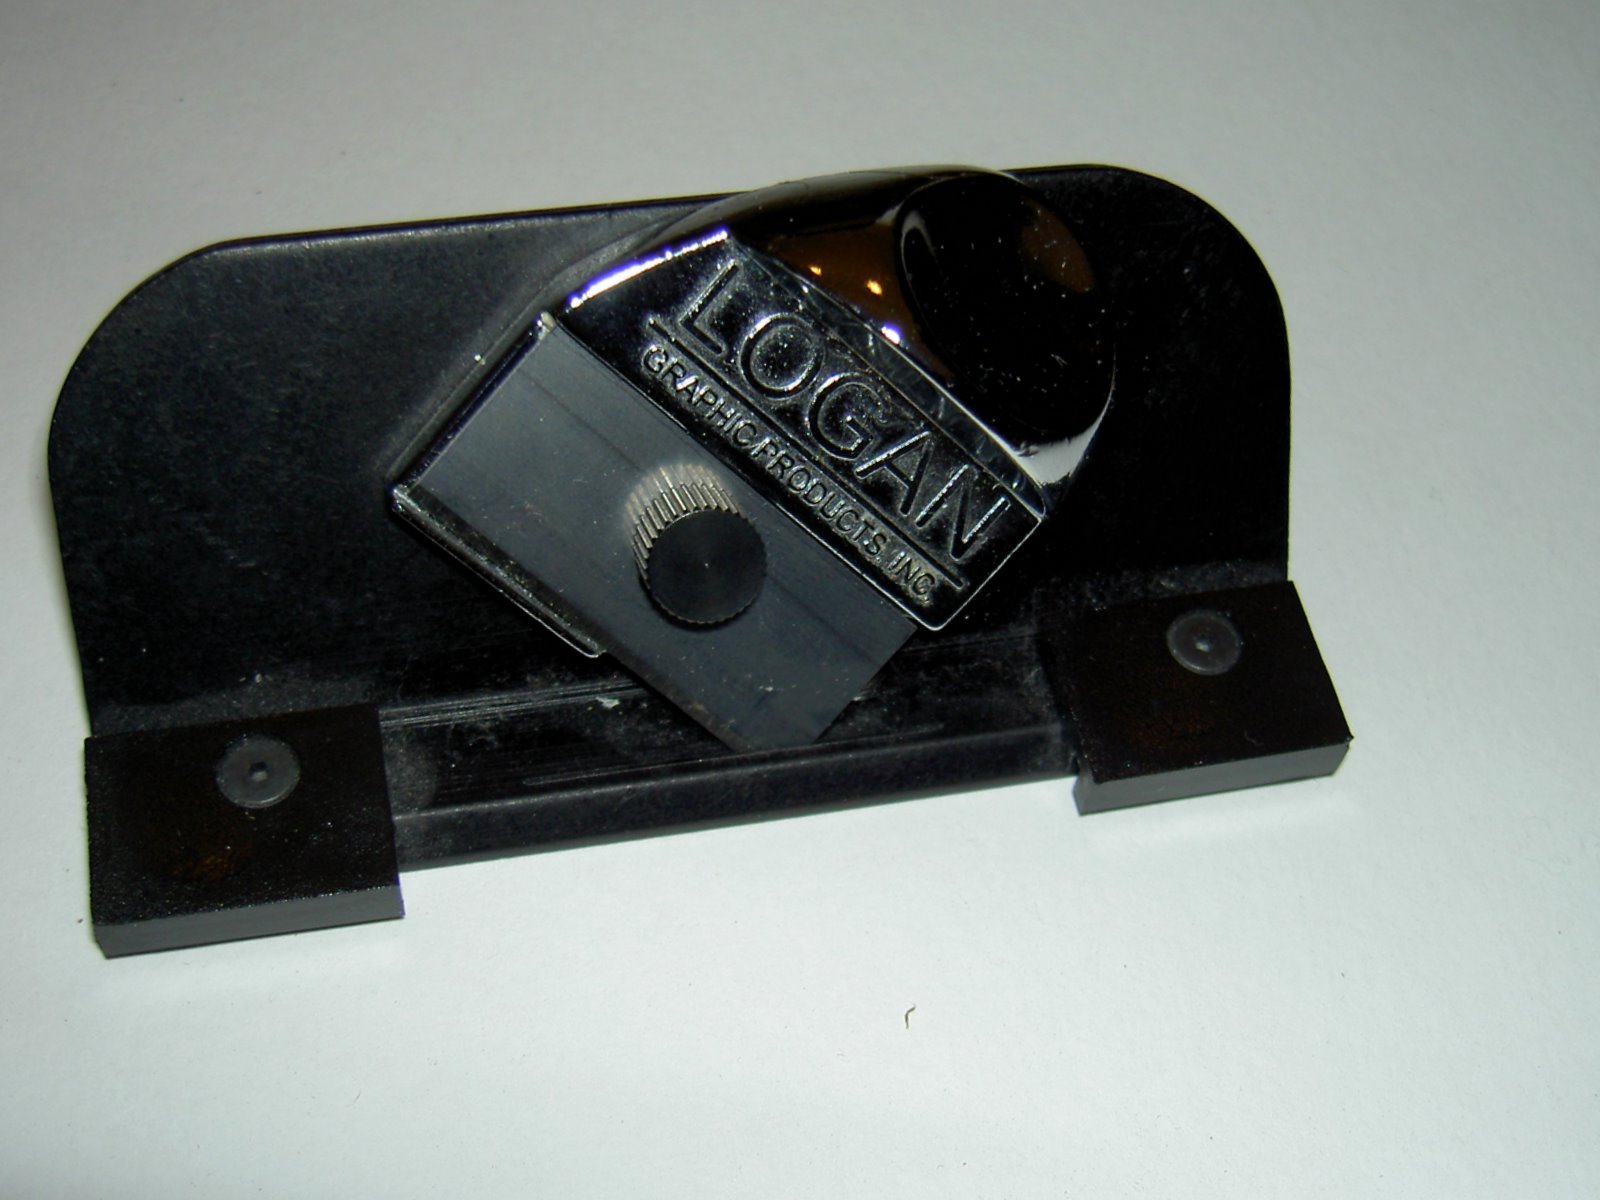
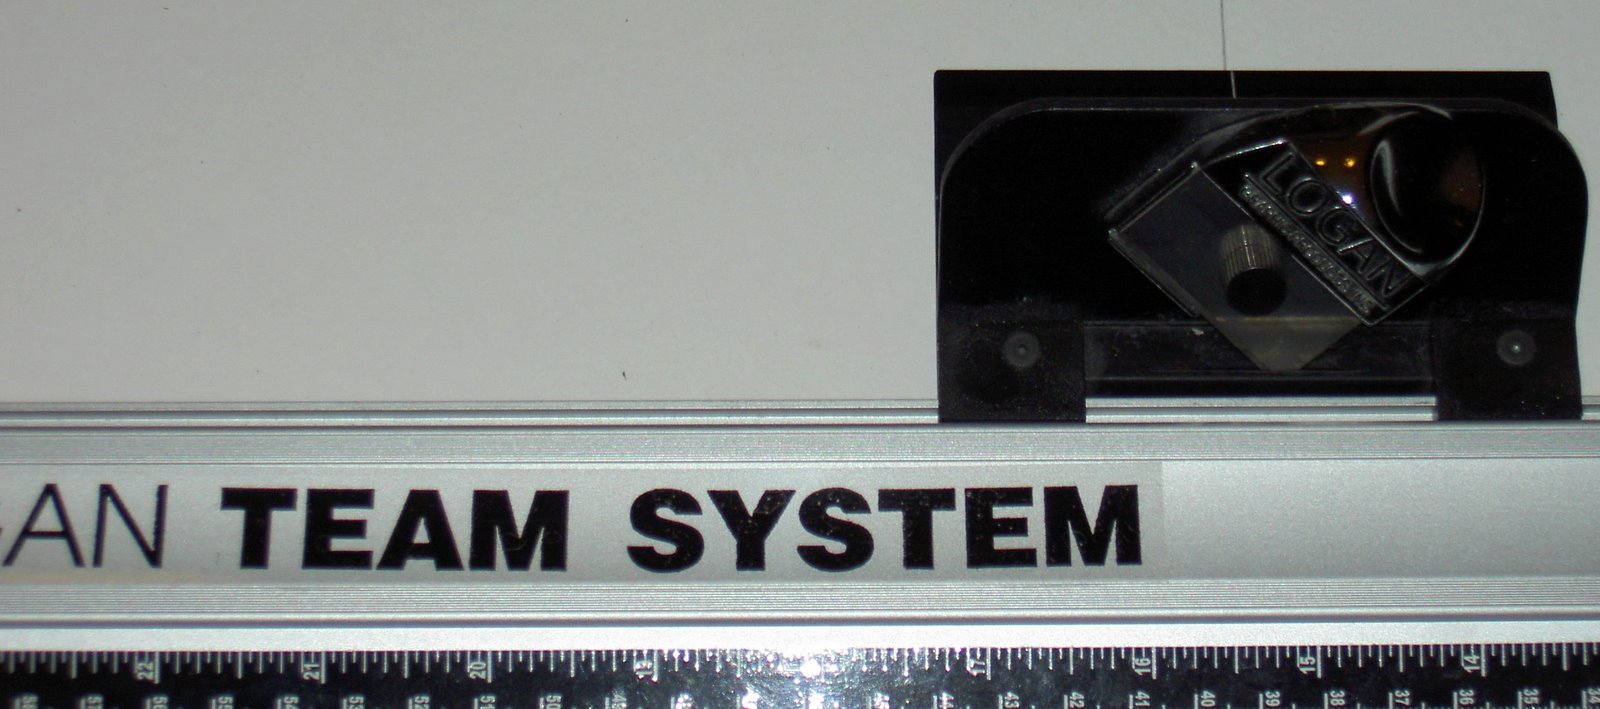
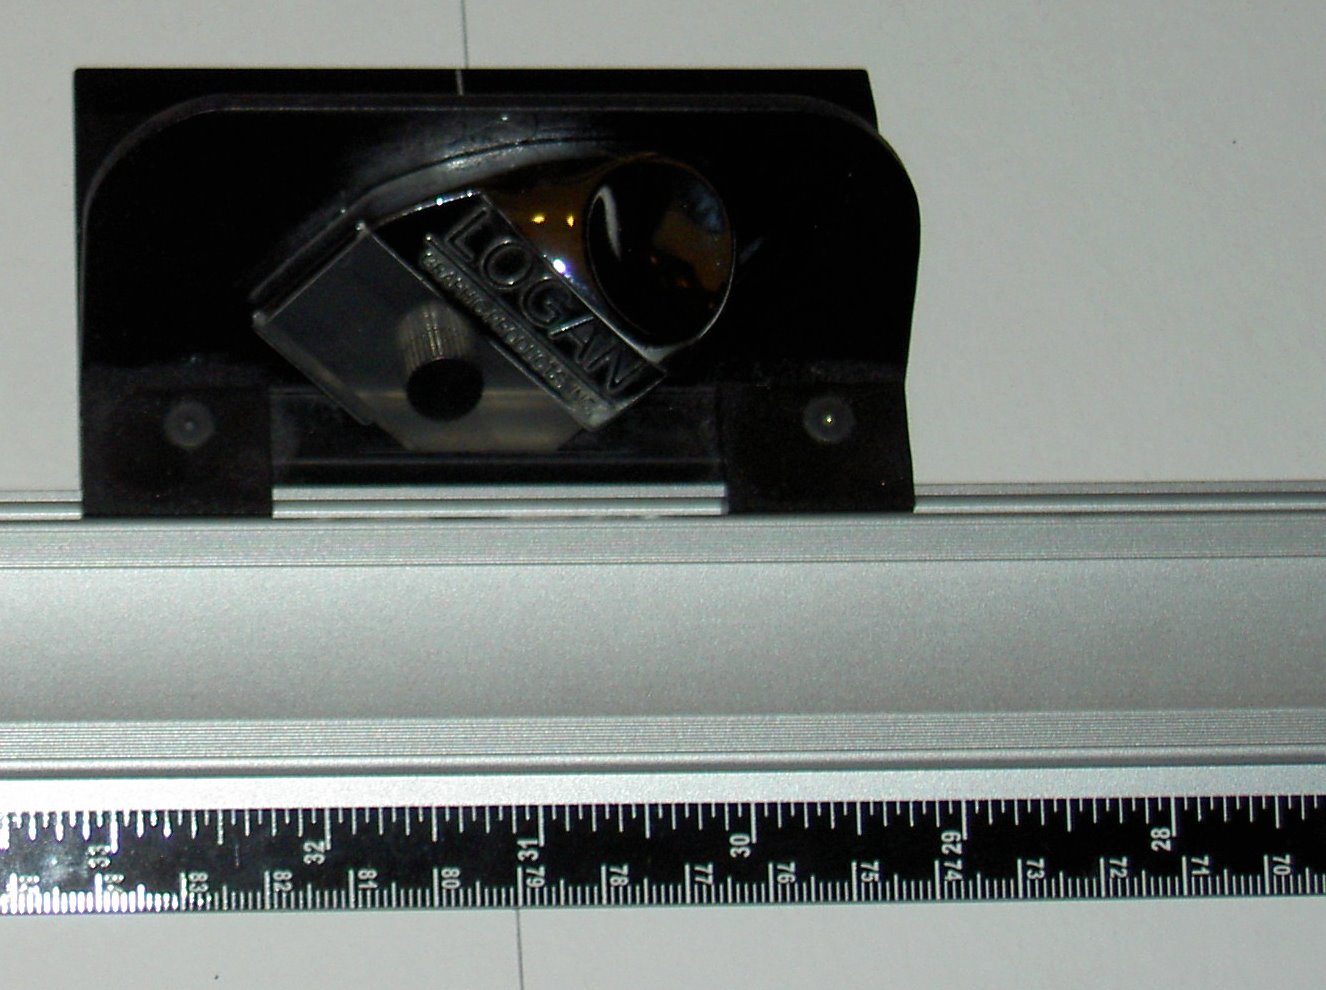
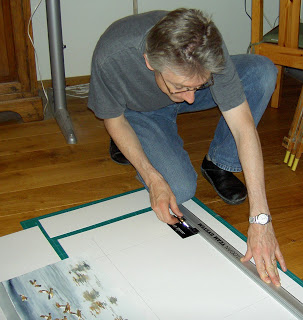
Anyway... Now it is finally time for the real cutter. This is a clever device. It has a really thin slit where the razor blade can slide down and do the cutting. This slit forces the razor blade to cut with precision. Also the sturdy steel and aluminium is necessary to ensure good precision. Obviously precision is needed here because if the razor blade would start sliding then you don't get the beautiful cut that you expect from a passe-partout.

Here I put my knee on one end of the ruler again and then I hold the ruler with one hand and the free hand is doing the cutting.
This time I am pushing the knife away from me.
I start pushing down the knife into the cardboard a fraction before the corner. Forward is to the left on this picture.
Then at the end I stop a fraction after the corner.
I do this for all four sides. When I lift the passe-partout the middle part is loose. If it is not then the razor blades are unsharp or I made a mistake of some kind and I can start over. This time it succeded wonderfully.

Then I tape the painting to the back of the passe-partout with help of acid free art tape.
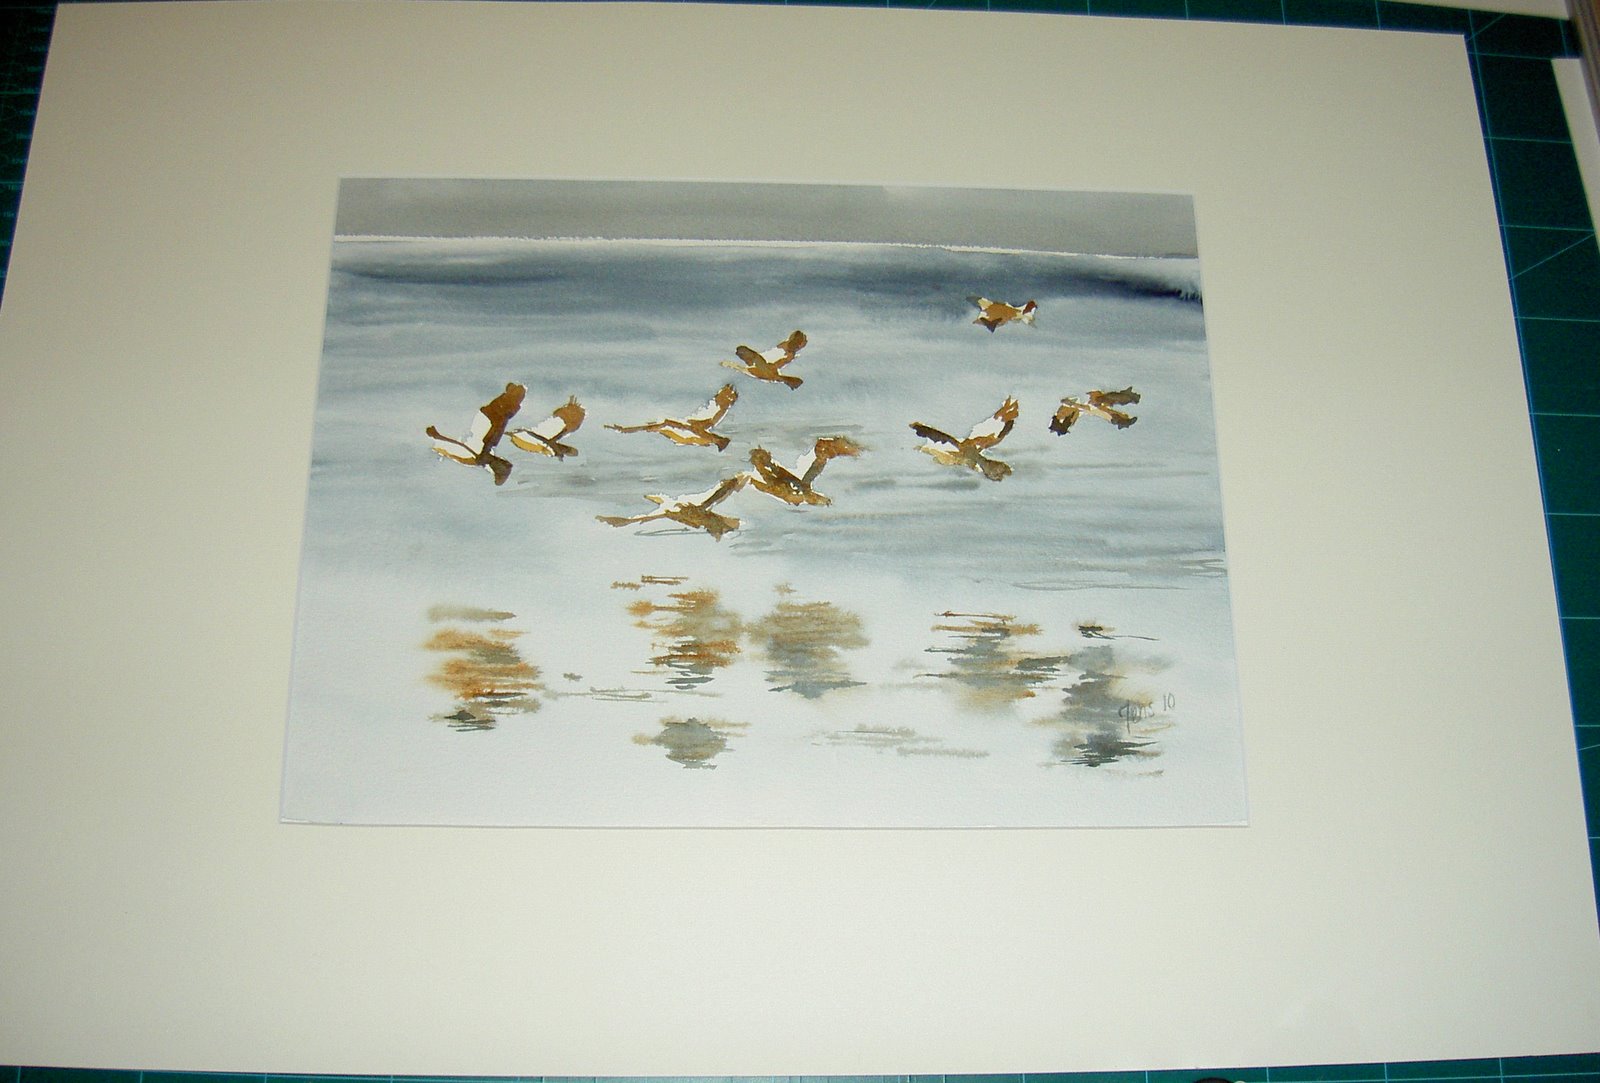
Here is the result of the painting in the passe-partout.
Here I place the painting in the frame.
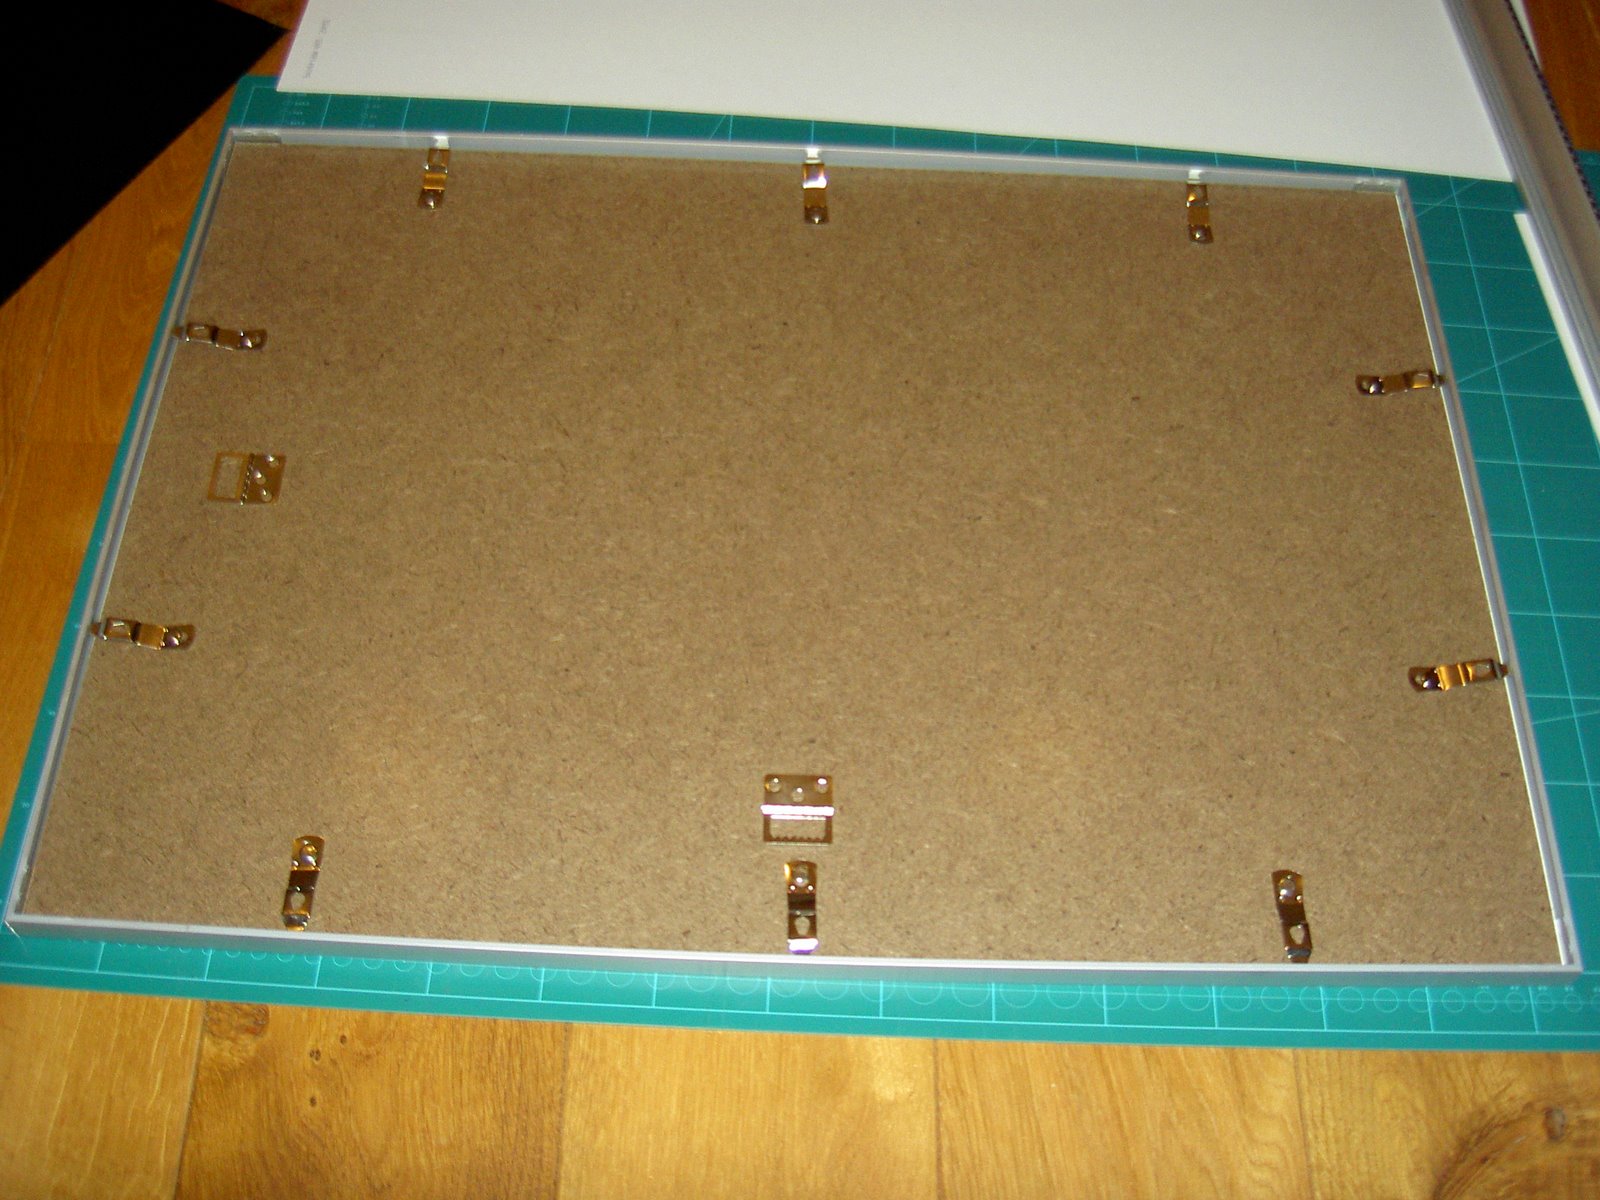
Here is the the back plate on place again.


 I moved from Sweden to The Netherlands in 1995.
Here on this site, you find my creations because that is what I do. I create.